
Would you like to enable BitLocker on devices with non-compatible TPM or in simple words “devices without TPM” to secure the enterprise data.
Is this doable? Yes, it is.
Let’s have a look at what settings you need to configure and what are the prerequisites.
Table of Contents
Prerequisites
- Intune enrolled device
Points to consider
- This cannot be automated if you would like to rely on configuration profiles
- Additional authentication at startup is required
Solution
Log in the Microsoft Endpoint Manager admin center.
1. Go to Home > Devices > Windows > Configuration Profiles > Create Profile
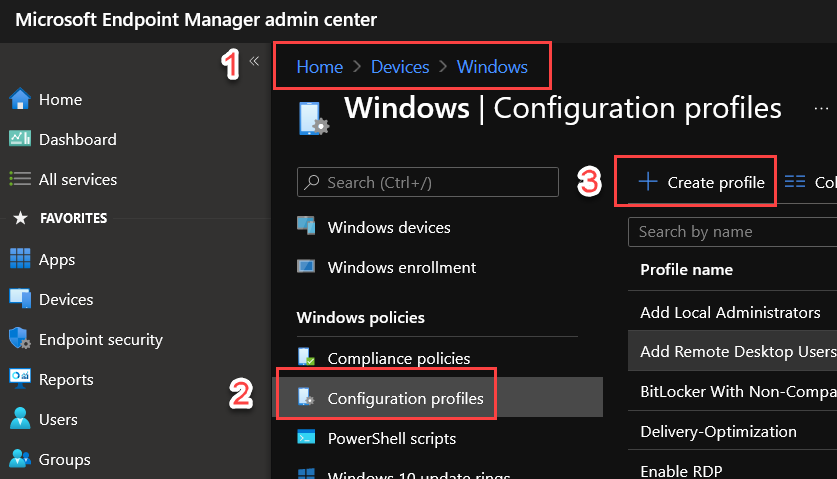
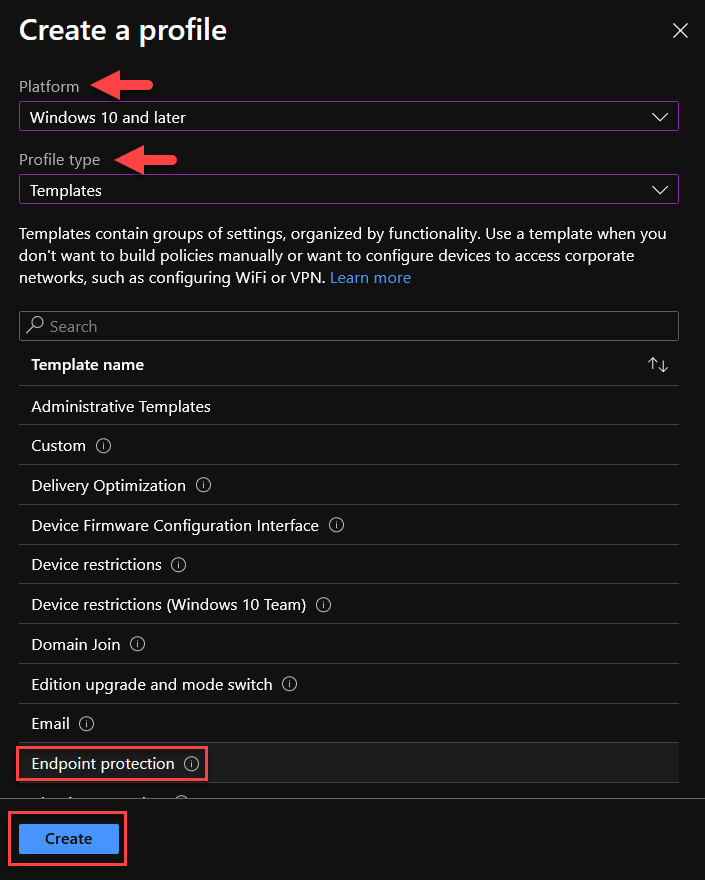
2. Select Platform as “Windows 10 and later”, Profile type as “Templates”, select Endpoint Protection in the listed templates and click Create
3. Provide Basics information and click Next

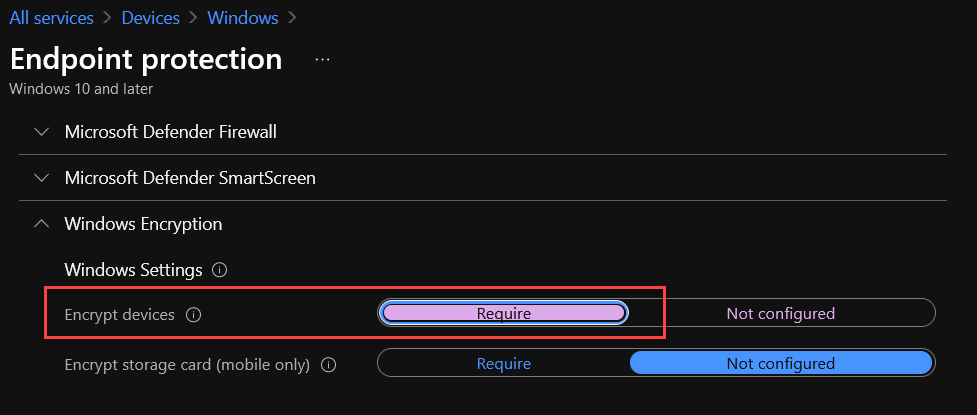
4. In Configuration settings, we will just update two Windows Encryption settings and leave the rest as default.
Windows Settings
Encrypt devices: Require
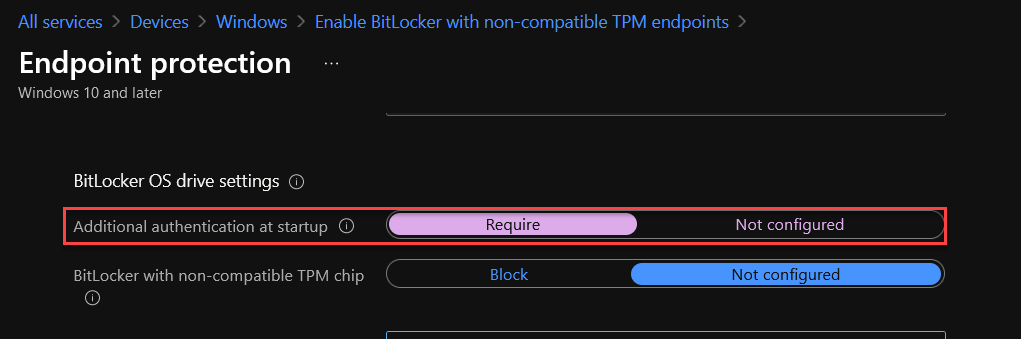
BitLocker OS drive settings
Additional authentication at startup: Require
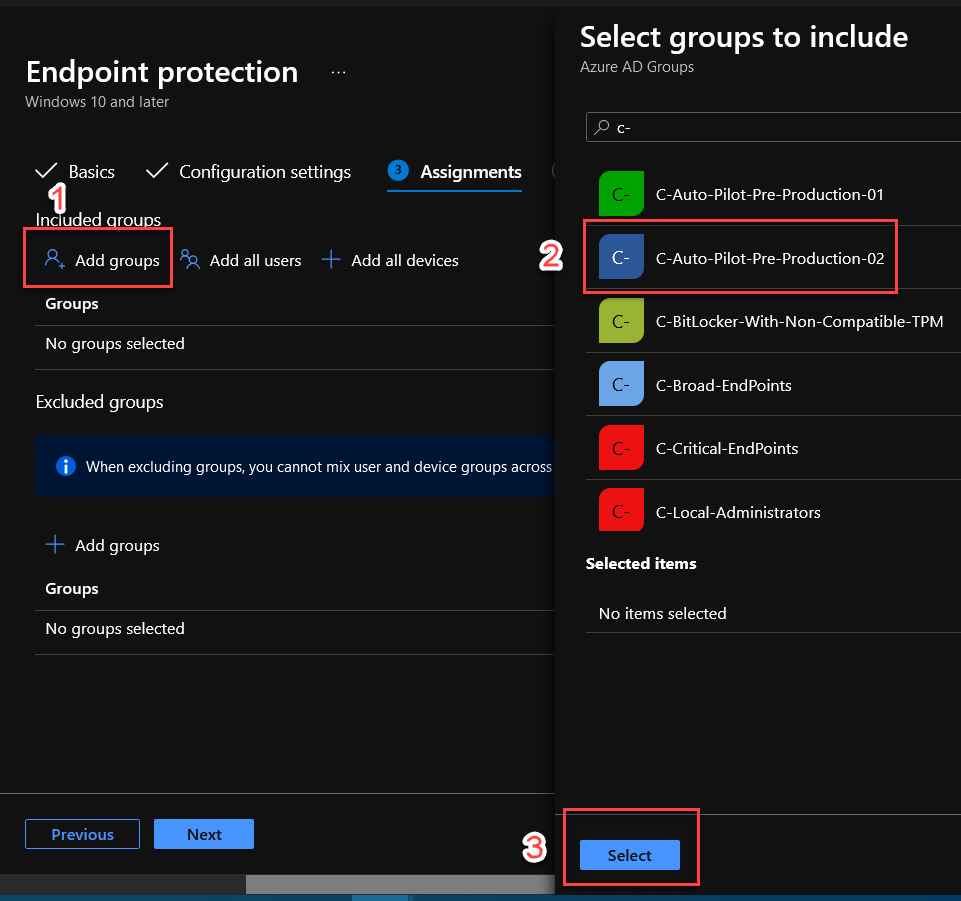
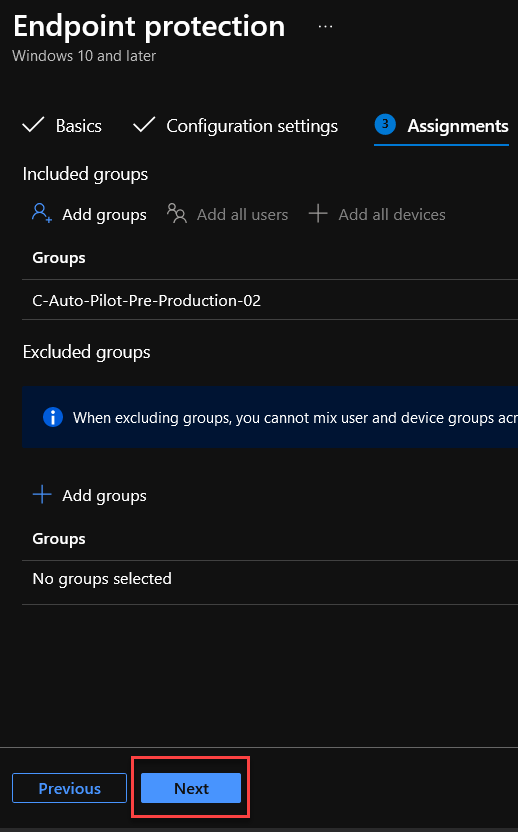
5. Assign this profile to your intended device group by simply clicking on the Add groups, Select your group and click on Next. For this example, I have assigned newly created profile “Enable BitLocker with non-compatible TPM endpoints” to a group called “C-Auto-Pilot-Pre-Production-02” as a member. SALES-02 computer is a member of that group.
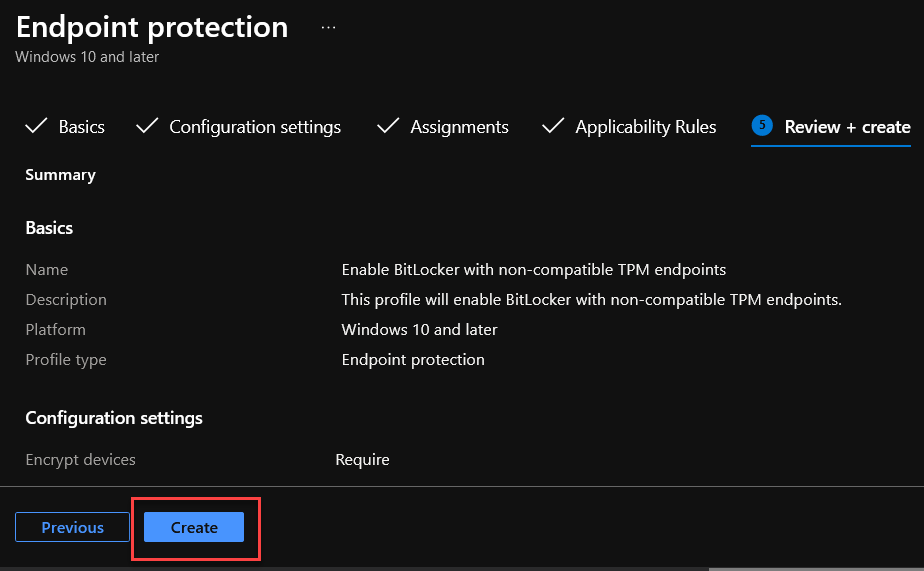
6. I am not changing anything in Applicability Rules, so I will Reveiw + create the profile
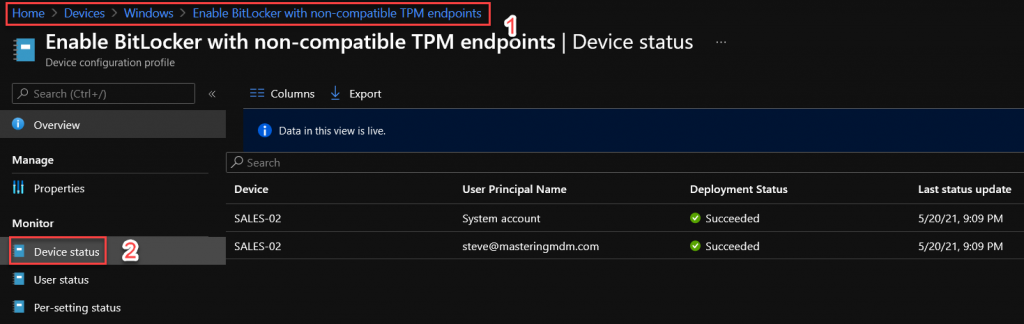
Monitoring Part 1
You can check the deployment/compliance status of this profile through the Monitor settings. These settings are available under Monitor node as shown below.
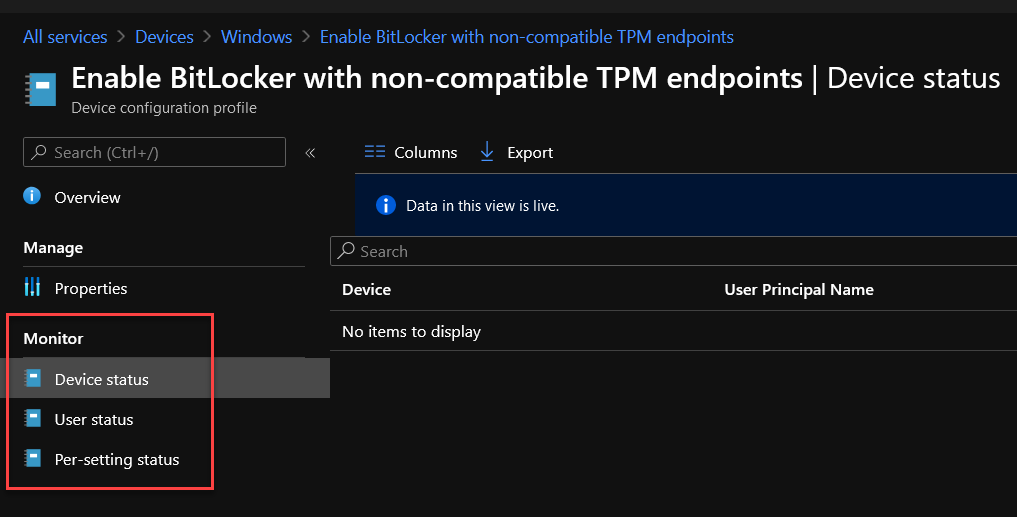
As you can see above, Device status has nothing to display. This is waiting on the device sync which are member of the Assignment group. As soon as the device sync occurs, we will see information populated here. Further is covered in the Monitoring Part 2 below.
End User Experience
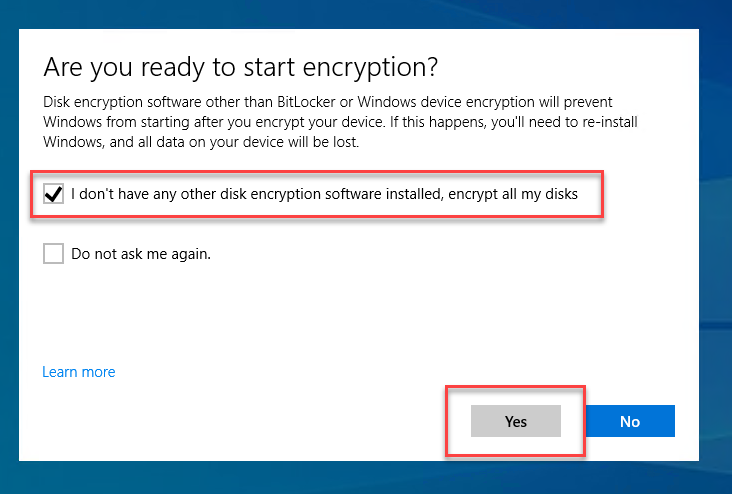
Depends on the way it is configured, users will be prompted to say yes or no whether they are using any other type of disk encryption. Below is the box they will see and I have selected a typical response for this which is listed below.
1. Select Yes and it will go ahead to check the system requirements.
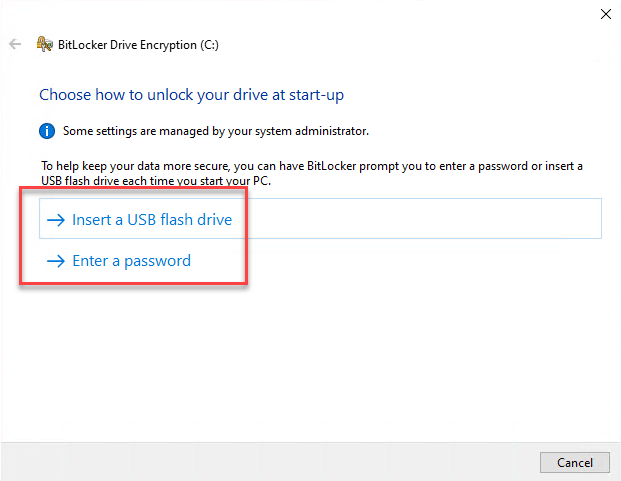
2. They will be presented how they would like to unlock the device. It can be a USB flash drive or password protection.
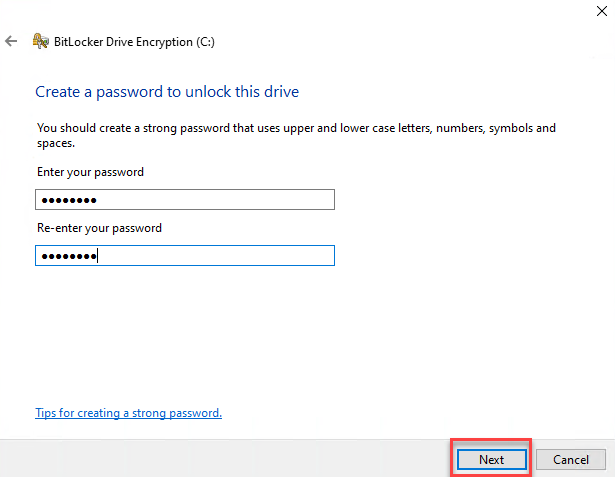
3. For this example, I will select Enter a password option and this will present me to enter the password twice and Next to start encryption.
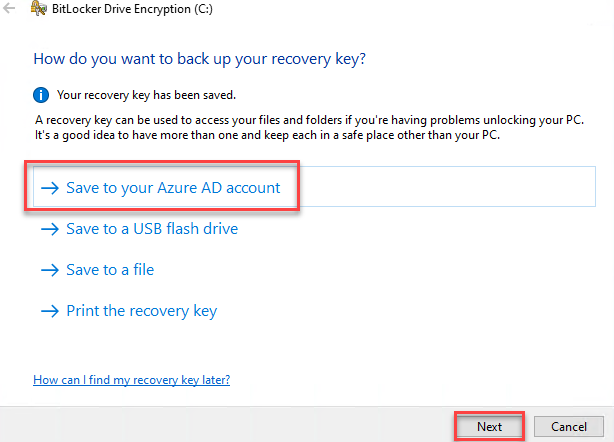
4. In this step, system will prompt where the recovery key will be stored. Best practice is Save to your Azure AD account and continue by clicking Next.
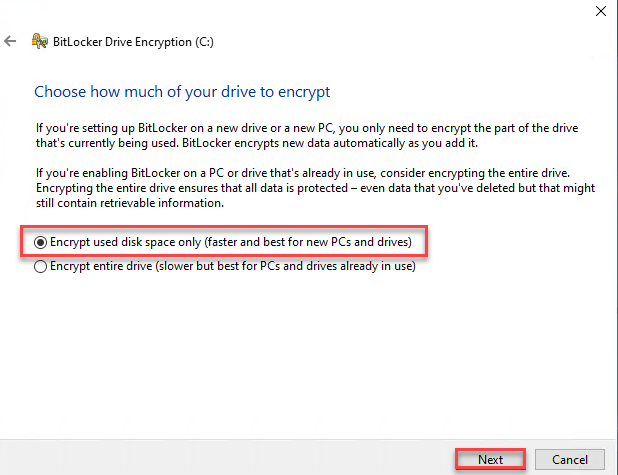
5. The next step will present two options.
i. Encrypt used disk space only, learn more here (link will be updated)
ii. Encrypt entire drive, learn more here (link will be updates)
I am going to pick the quickest method Encrypt used disk space only and click Next.
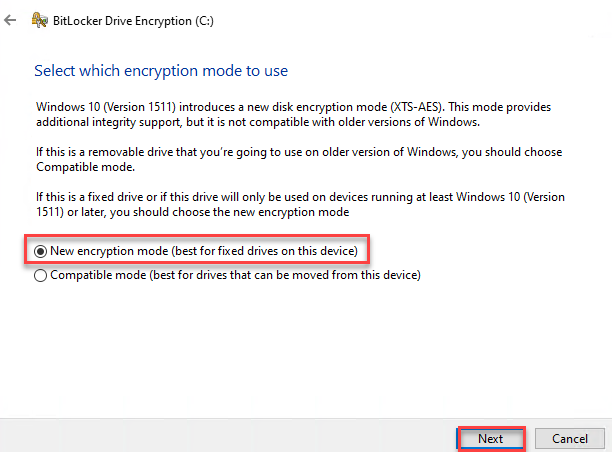
6. Further, there are two options.
i. New encryption mode, learn more here (link will be updated)
ii. Compatible mode, learn more here (link will be updated)
Select the appropriate method according to your requirements. I am selecting “New encryption mode” and click Next.
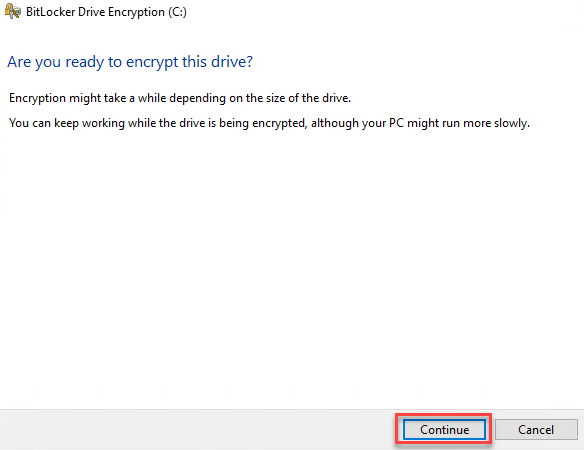
7. BitLocker is ready to encrypt and click on Continue.
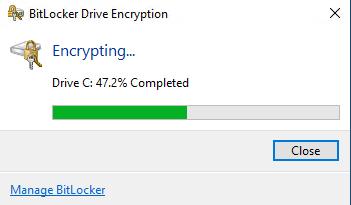
You will see the progress, something similar as shown below and it is done.
Monitoring Part 2
There are a few ways to monitor and investigate this. Either you can check Endpoint Manager Admin center or client to see whether this has deployed properly or not.
Endpoint Manager Admin Center
- Go to the Configuration Profiles blade, and check Device status. You can click on the device to learn more.
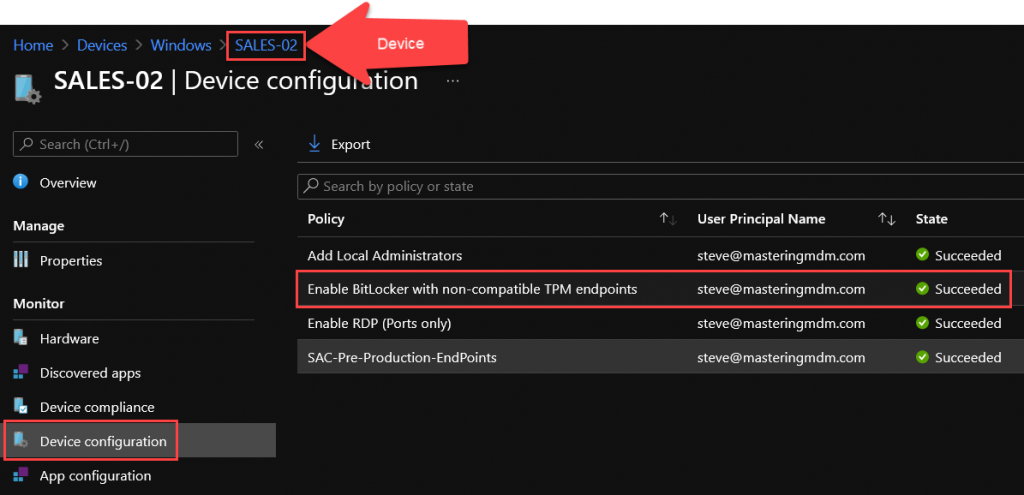
2. Another way of checking is directly looking up the device and then check the Device configuration. You can click on one of the listed Configuration Profiles see more.
Endpoint
- Simply you can check the File Explorer and BitLocker can be seen on the drive or you can run a simple PowerShell to view BitLocker status.
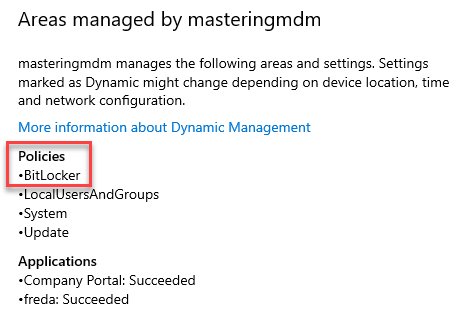
- Check Info in Access work or school Settings, you should see BitLocker listed in one of the policies managed by your organization.
3. Generate Advanced Diagnostic Report on the Info page in Access work or school Settings. Report will be saved in C:/Users/Public/Documents/MDMDiagnostics/MDMDiagReport.html. Look for BitLocker keyword, this will be listed under Managed Policies.
C:\Users\Public\Documents\MDMDiagnostics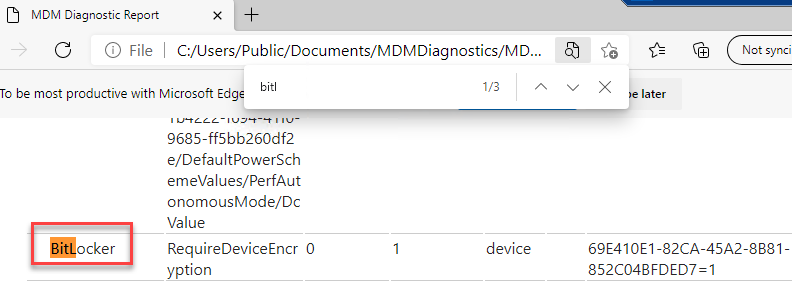
4. Similar information as stated in Step 3 can also be gathered through registry keys. This information is stored in the following:
Computer\HKEY_LOCAL_MACHINE\SOFTWARE\Microsoft\PolicyManager\current\device\BitLocker
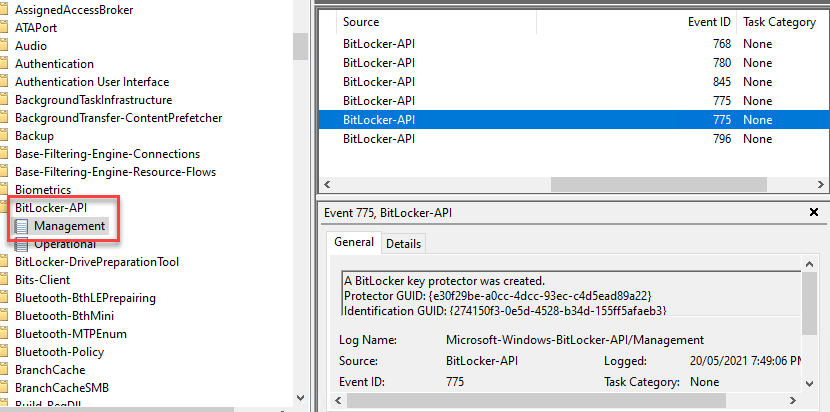
5. Event Viewer will have registered events in Applications and Services log > Microsoft > Windows > BitLocker API
Feedback
Your feedback is important and leave your thoughts in the comments below.


June 10, 2021 @ 1:28 am
please make video on complete sccm migration to new server