
In this post, we will look at how to install and configure Zabbix Agent on the Windows platform.
Table of Contents
1. Download Windows Zabbix Agent
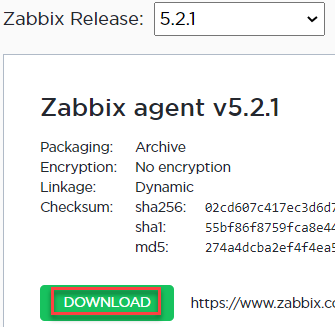
1. Download the Windows Zabbix Agent from officially Zabbix website. Below is an example for x64 machine with no encryption. Here is the direct download link https://www.zabbix.com/download_agents and select the following from the given options.
| OS Distribution | OS Version | Hardware | Zabbix Version | Encryption | Packaging |
| Windows | Any | amd64 | 5.2 | No encryption | MSI |
2. You will see the Zabbix Release options as below and usually, you would go for the latest release and click on download.
3. Downloaded file will be a zip file and unzip the file, you will see the below content.
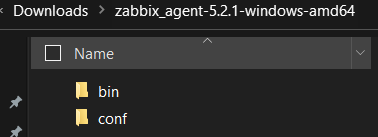
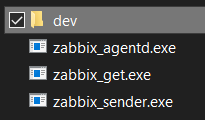
- bin folder has the following files
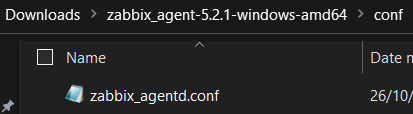
- conf folder has the configuration file
2. Move files on the target endpoint
For this example, my target endpoint is Windows Server 2019 OS (TEKNEX-CA01).
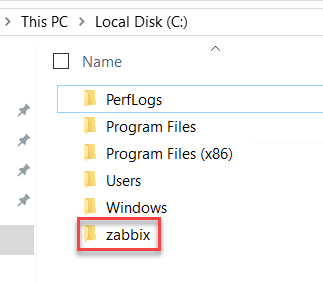
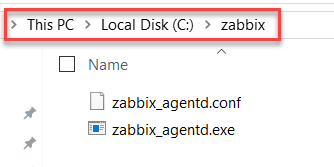
1. Create zabbix folder in the Windows root directory
c:\zabbix
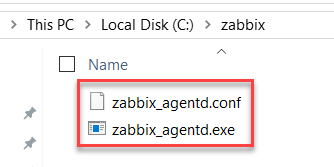
2. Copy below files to newly created zabbix folder
- bin\zabbix_agentd.exe
- conf\zabbix_agentd.conf
3. Prepare Windows firewall
By default, Zabbix agent communicates over 10050 port, and I am sticking with the default port.
1. Add port TCP 10050 in the allow list for inbound communication. You could use GUI to achieve this, however, it is easier to run the following PowerShell command. This will add TCP port 10050 in the inbound allow list.
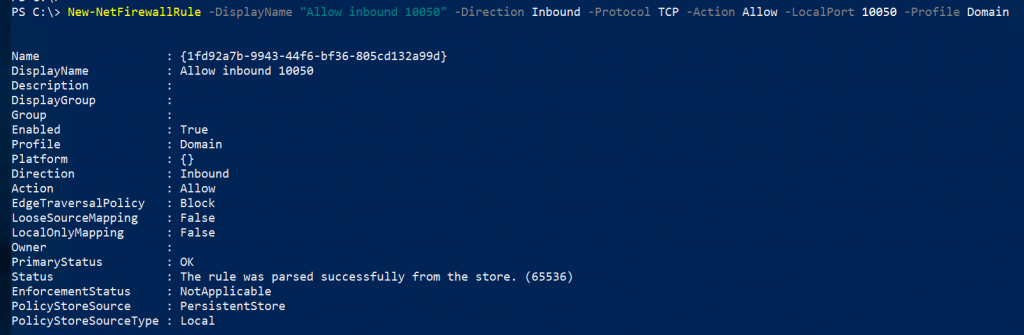
Ensure you apply to the correct profile, TEKNEX-CA01 is part of the domain and this is why I am applying inbound to the Domain profile only. Run the following one-line command in PowerShell as administrator.
New-NetFirewallRule -DisplayName "Allow inbound 10050" -Direction Inbound -Protocol TCP -Action Allow -LocalPort 10050 -Profile Domain
To add this firewall rule to all profiles, you can use the following command. This command will allow inbound port 10050 on Domain, Private and Public profile.
New-NetFirewallRule -DisplayName "Allow inbound 10050" -Direction Inbound -Protocol TCP -Action Allow -LocalPort 10050 -Profile Any
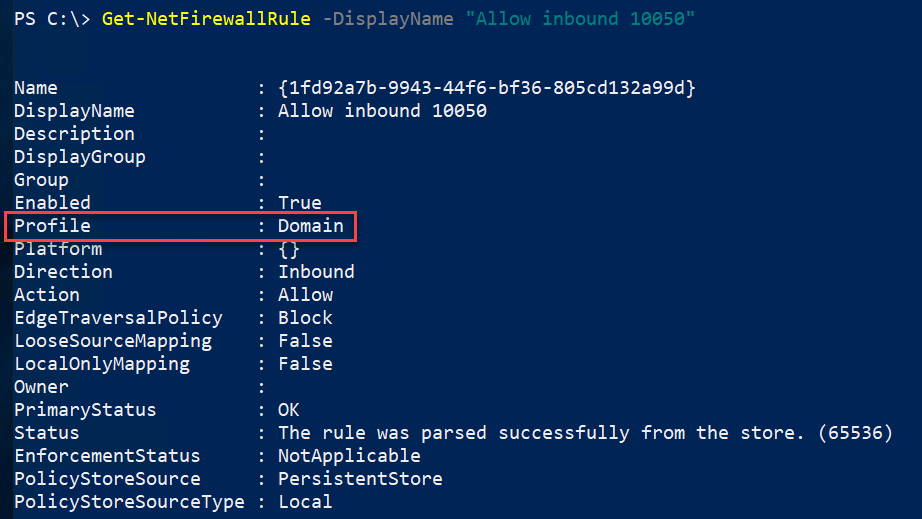
2. Confirm the rule has been added by running the following command.
Get-NetFirewallRule -DisplayName "Allow inbound 10050"
4. Update Zabbix configuration file
Open zabbix_agentd.conf with any editor, even Windows built-in notepad will do the job. Uncomment the following and update accordingly. Save the file once you make changes.
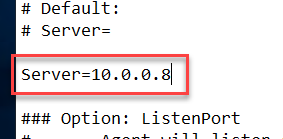
- Server
Provide Zabbix server IP address
- ListenPort
Keep this default as 10050, unless you changed it

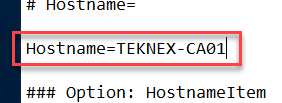
- Hostname
Enter the hostname if your Zabbix does not resolve the hostname to IP address. If your DNS is functioning correctly, you can use the variable system.name. To keep things simple, I will just provide hostname manually.
5. Install and Start Zabbix service
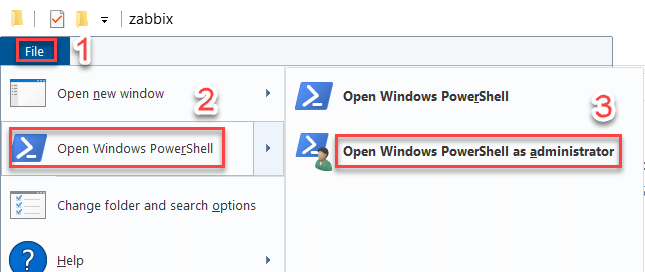
1. Browse to zabbix folder on Windows endpoint
2. Select File in the Navigation pane > hover over Windows PowerShell > click Open Windows PowerShell as administrator
3. Run the below command to install Zabbix.
PS C:\zabbix> .\zabbix_agentd.exe -c .\zabbix_agentd.conf -i
You will see this message when you run the above command

4. Run the following command to start Zabbix service or you could start the service from the Task Manager

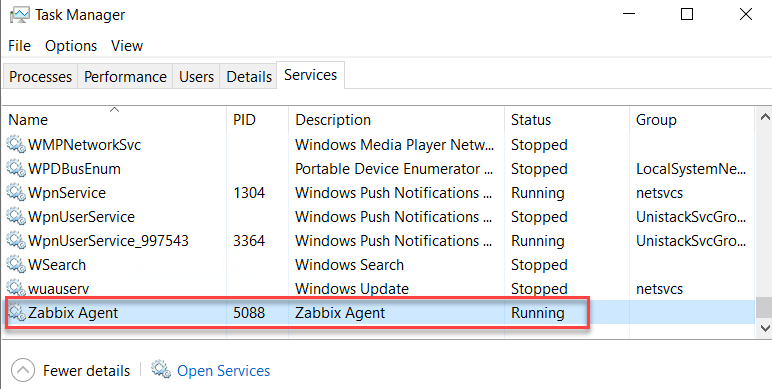
4. Verify Zabbix agent service in the Task Manager
6. Create a new Group on Zabbix Server
To add a host, we need to create a host group first. If you already have a group then you can skip this part.
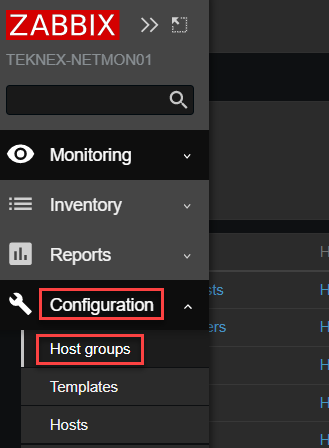
1. Login to Zabbix front end > Extend Configuration > Click on Host groups
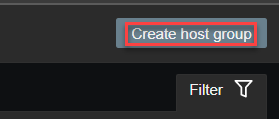
2. Click on Create host group on the top right hand corner
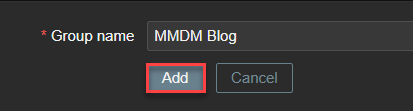
3. Give a name to new host group and click Add
7. Add a host on Zabbix Server
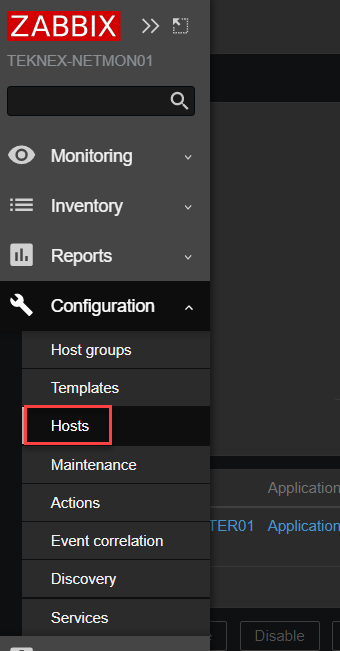
1. Login to Zabbix front end > Extend Configuration > Click on Hosts
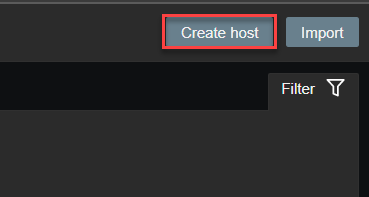
2. Click on Create host on the top right hand corner
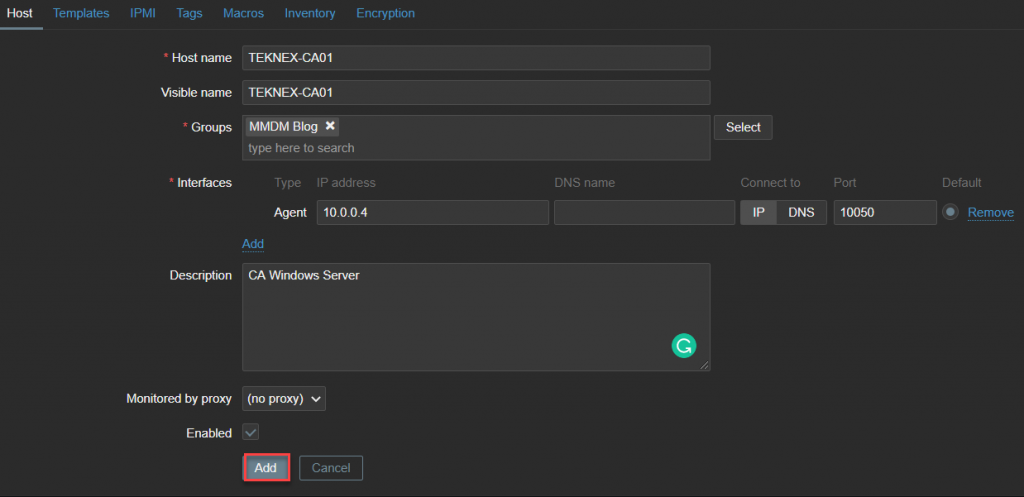
3. Enter the following information and click on Add
| Host name | TEKNEX-CA01 | This must match the Zabbix conf file. |
| Visible Name | TEKNEX-CA01 | This can be anything meaningful. |
| Groups | MMDM Blog | |
| Agent IP Address | 10.0.0.4 | The IP address of the endpoint TEKNEX-CA01. |
| DNS name | Leave it blank | FQDN of the endpoint. In my case, it could be TEKNEX-CA01.TEKNEX.LOCAL. |
| Connect to | IP | Zabbix server will connect to agent via IP address. |
| Port | 10050 | This must match the Zabbix conf file. 10050 is the default. |
| Description | Add something meaningful | |
| Monitored by proxy | no proxy | |
| Enabled | Checked | Keep this option checked |
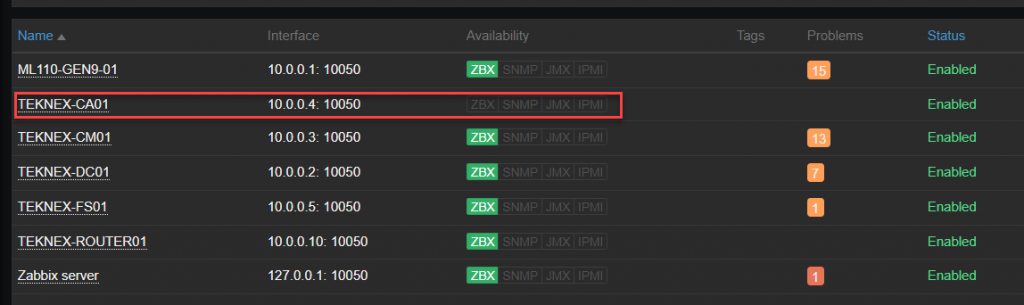
You will see something like following once you add a host under Configuration > Hosts
8. Link a template with the host
A host must have a template linked so that Zabbix Agent can report back to Zabbix Server with the requested data. In this step, let’s link a template with our newly added host TEKNEX-CA01.
1. Go to Configuration > Hosts
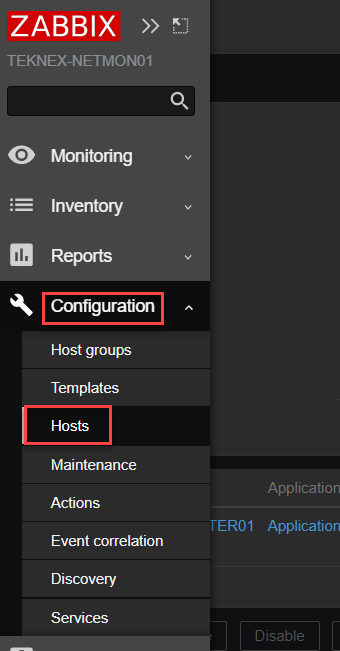
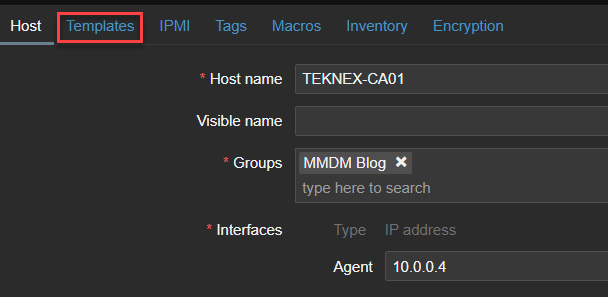
2. Click on newly added host TEKNEX-CA01

4. On the TEKNEX-CA01 host page, click on Templates
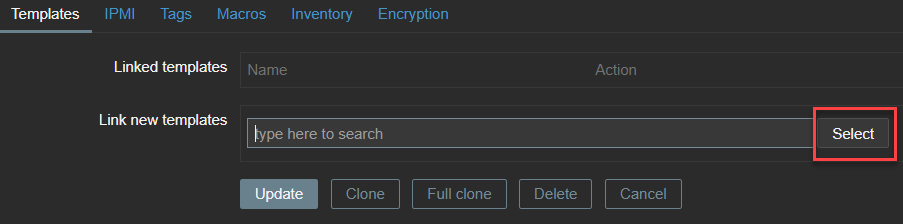
5. Next to Link new templates click on select
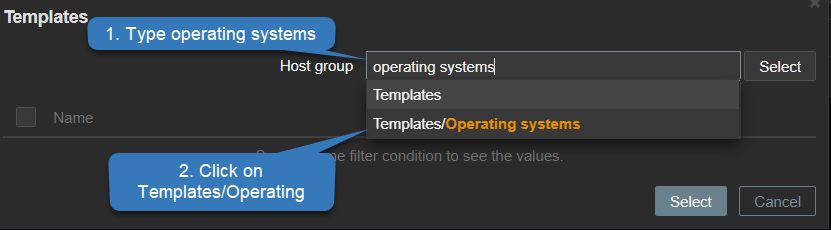
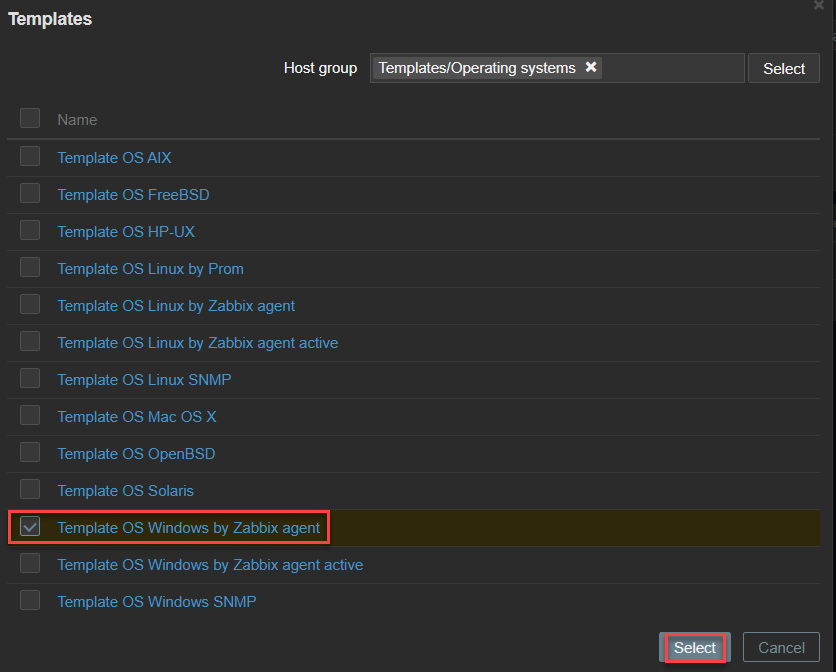
6. In the Host group search, type operating systems and click on Templates/Operating Systems
7. Check Template OS Windows by Zabbix Agent and click on Select
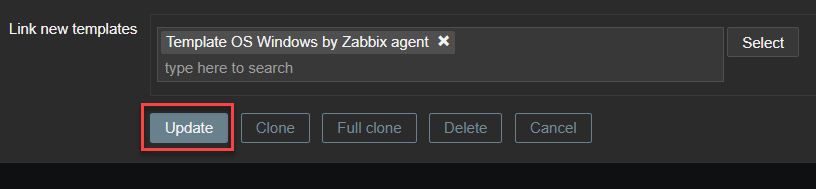
8. Click on update to save changes
9. Check availability
It can take a couple of minutes for the Zabbix server to initiate an initial communication with the endpoint. Once you attach a template, communication might not start straight away and you will see something like below under Configuration > Hosts

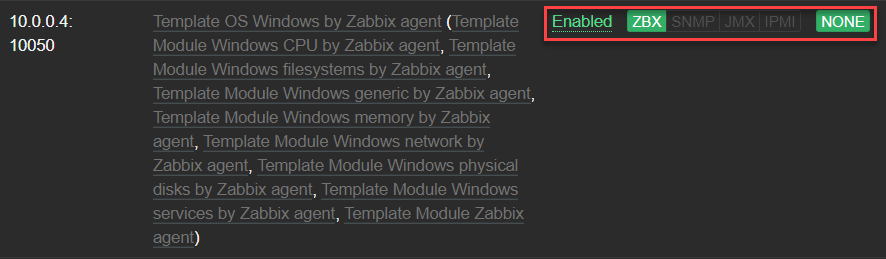
Once the communication has initiated, ZBX will turn into green and you would see something like below.
10. Troubleshooting
If you have waited long enough and ZBX did not turn into green, this indicates that there is something not right. Check the following:
- Inbound port 10500 is opened for the required profile. In the above example, I used Domain Profile because the endpoint is part of a domain.
- Ping endpoint from the Zabbix server and it should ping successfully
- Check the log file on the endpoint located in the Windows root directory and it can indicate you if there is an issue

Your feedback is very important. Let me know how did you go in the comments below.


January 22, 2021 @ 12:54 pm
Can you explain the need to create a local folder on the root of C: and manually config the agent instead of running the Windows installer?
January 30, 2021 @ 4:50 pm
Hi Roger,
As you may have noticed that we have changed a bit in the configuration file here and then specified the configuration file in our command. Running the installer directly will miss the configuration and it would not use settings from the config file.
Jay
July 21, 2021 @ 10:04 pm
I hope this article can be use on Windows server 2019