
In this post, we will configure DC for our lab and then domain join TEKNEX-CM01 and PC-01 to our Domain.
Last updated on 24th Oct 2020
Check-out related video to this blog post
Table of Contents
1. Add roles for AD DS
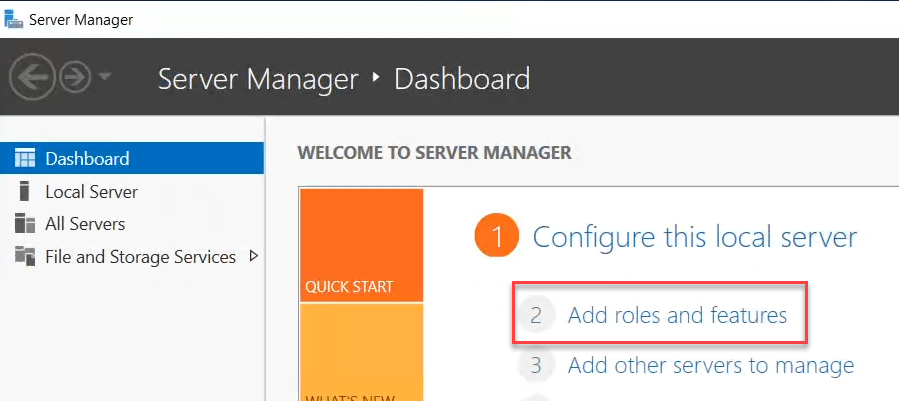
In order to configure and promote Domain Controller, we need to install the prerequisite roles. So, log in to TEKNEX-DC01 to install these roles.
- Open Server Manager and select Add Roles
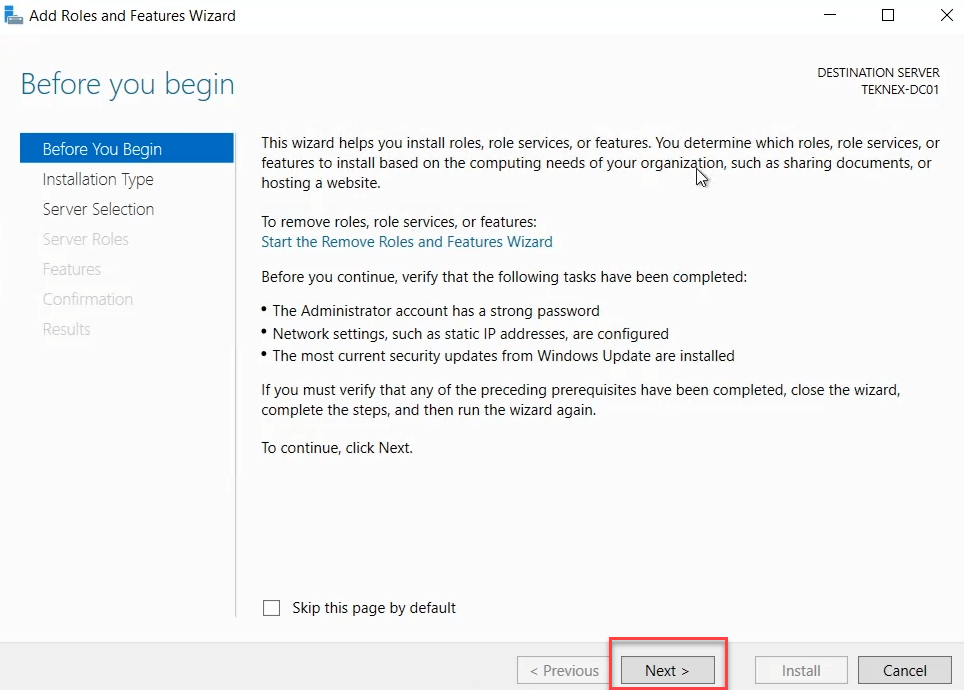
- Select Next on before you begin page and Role-based and feature-based installation pages
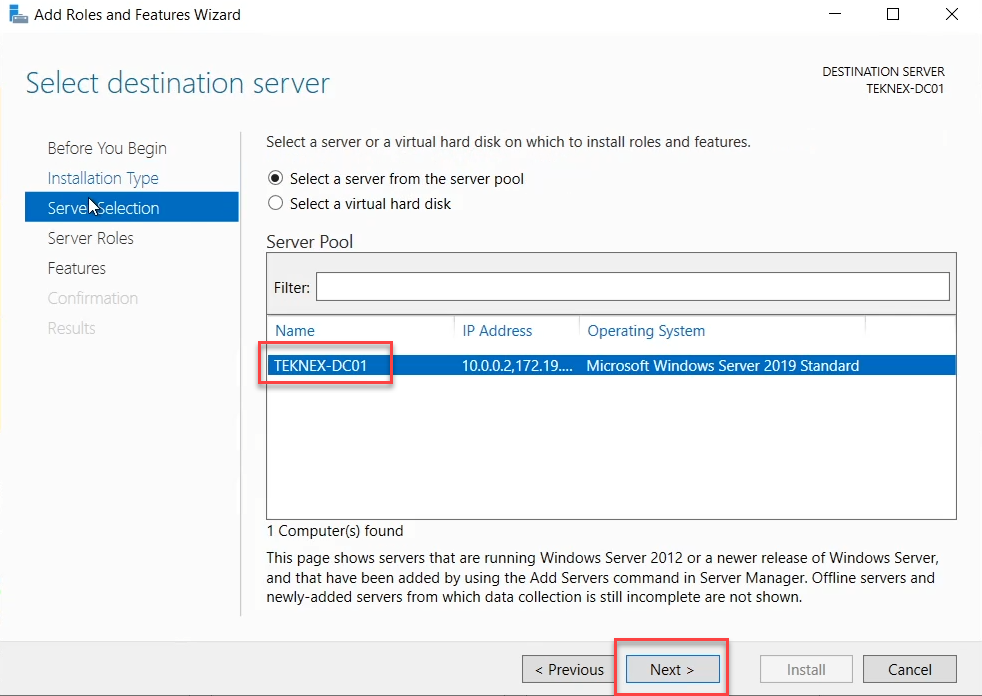
- Select your intended server where you would like to install these roles and proceed further by clicking on Next
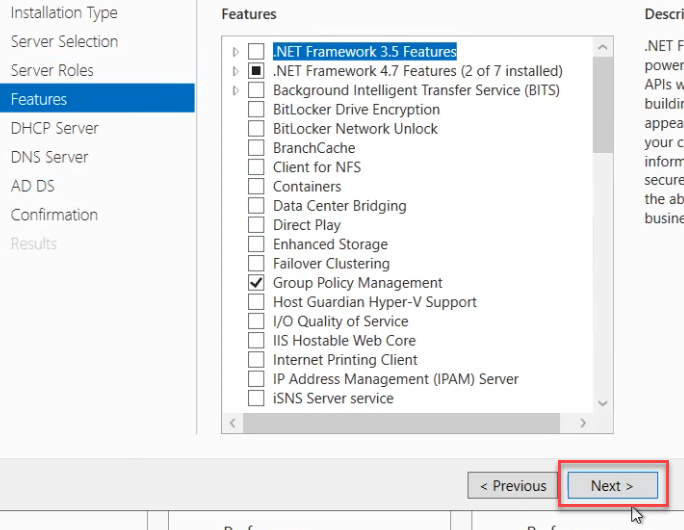
- On Server Roles pages select the following and select Next when done:
– Active Directory Domain Services (Add all Management tools as well)
– DHCP Server (Add GUI RSAT tools as well)
– DNS (Add GUI RSAT tools as well)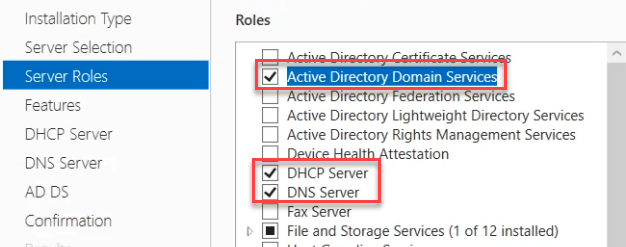
- Select Next on Features, we are not adding any features
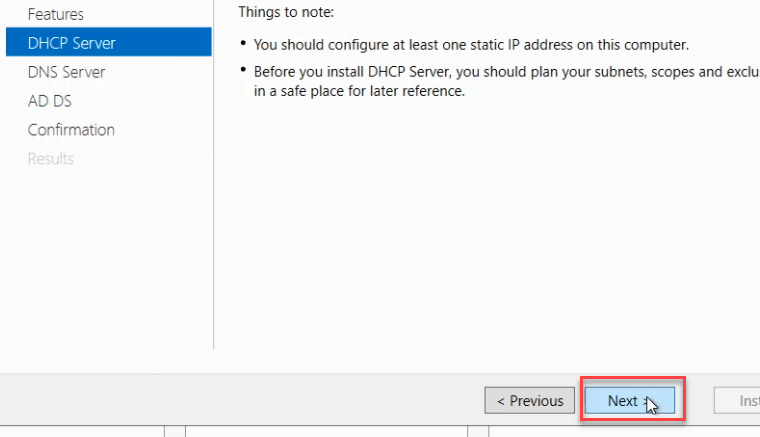
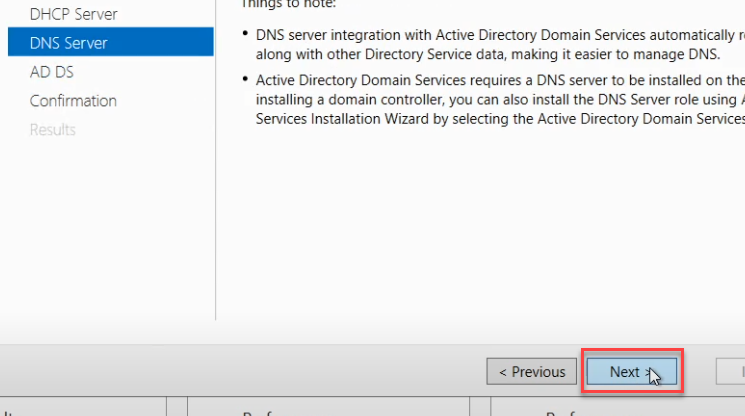
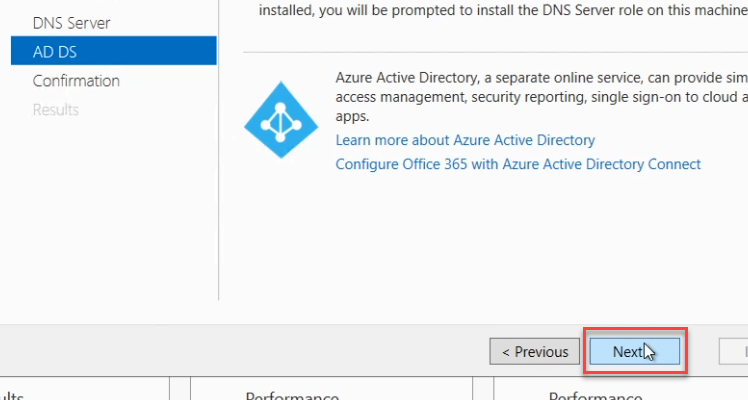
- Select Next on DHCP Server, DNS Server, and AD DS pages
- On the Confirmation page, go through the box and it will show you what you have selected so far. You can check the box “Restart the destination server automatically if required”. (System won’t restart in this case). When you are happy with the selections you have made and select Install to install those roles and features.

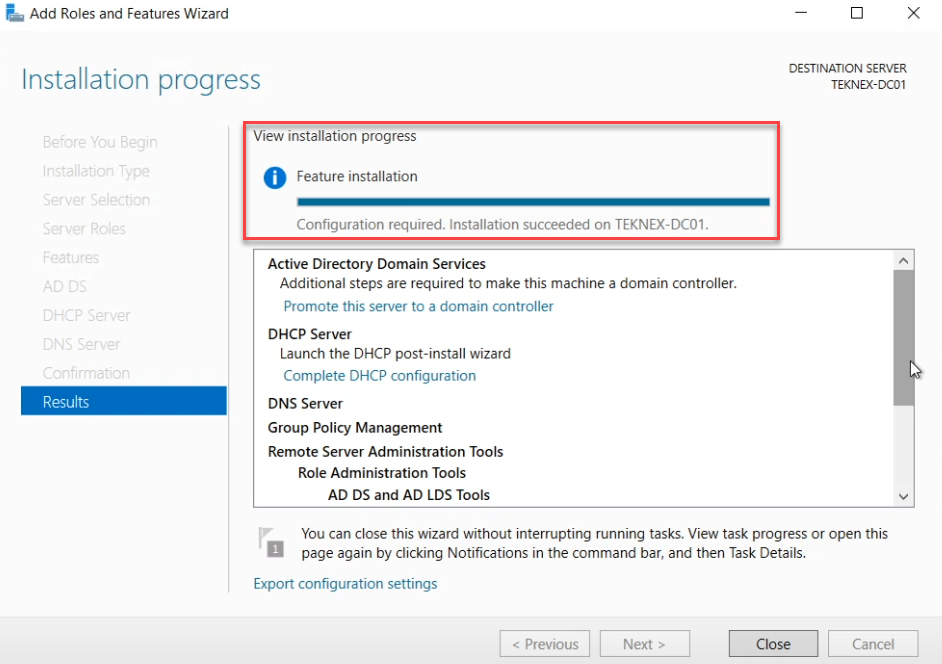
- Once done, you will see installation succeeded on TEKNEX-DC01
2. Promote DC
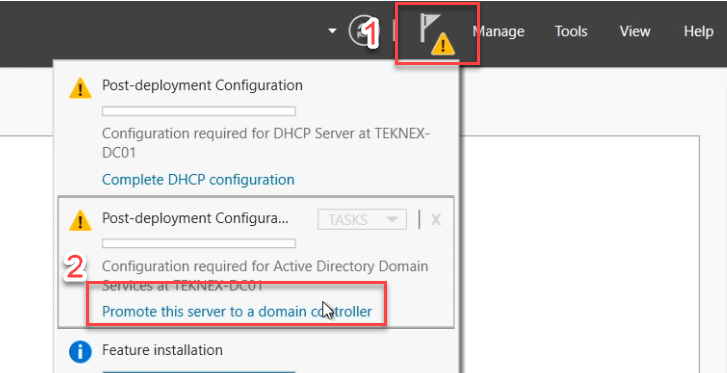
In the Server Manager, you will see a yellow triangle and it will display the roles and features which need configuration.
- Click on the yellow triangle in Server Manager and select Promote this server to a domain controller and this will open AD DS Configuration Wizard
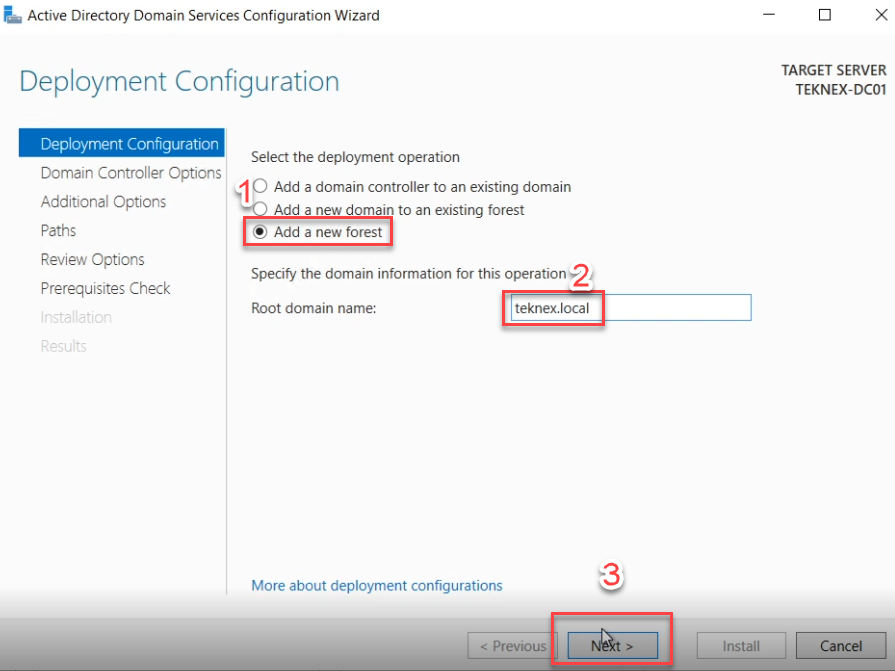
- Deployment Configuration: This will be our very first DC, so select Add a new forest. Enter name of your new domain in the Root domain name box, I have chosen TEKNEX.LOCAL as a new domain name. The user you are using to perform this operation must be a member of Local Administrators group.
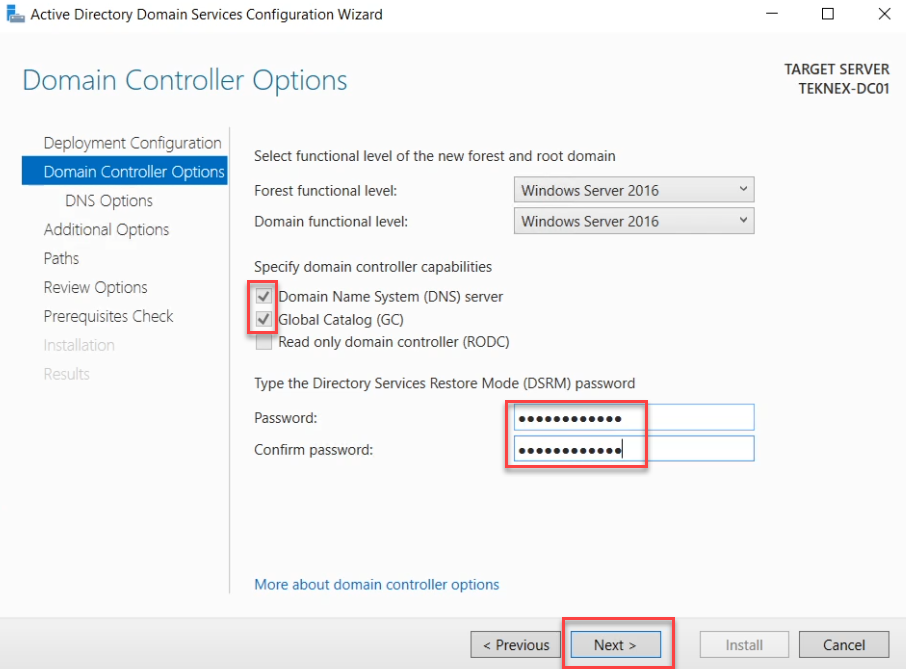
- Domain Controller Options: Leave everything default and enter DSRM password twice.
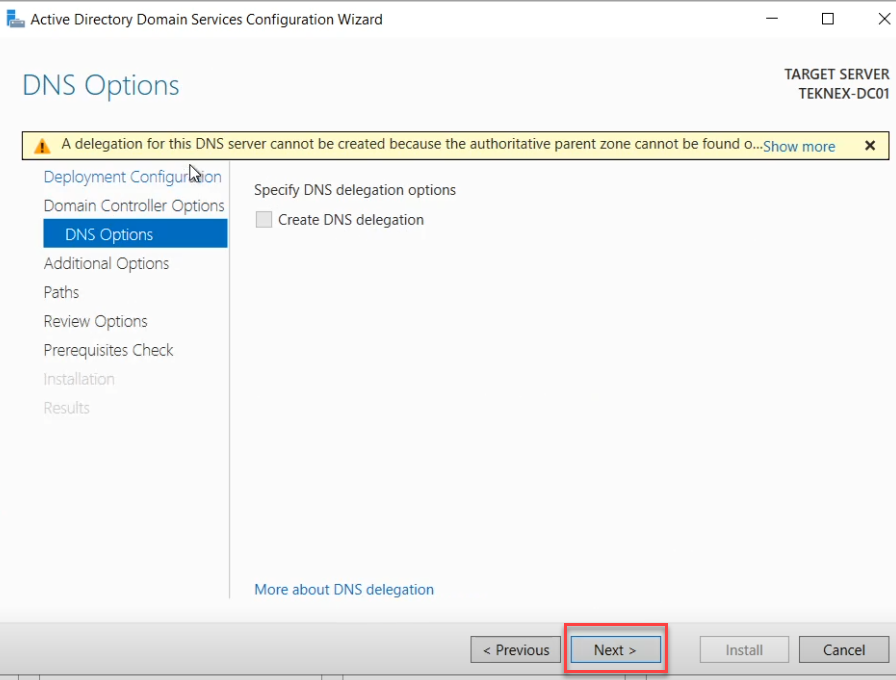
- DNS Options: We can’t change any option here, so select Next
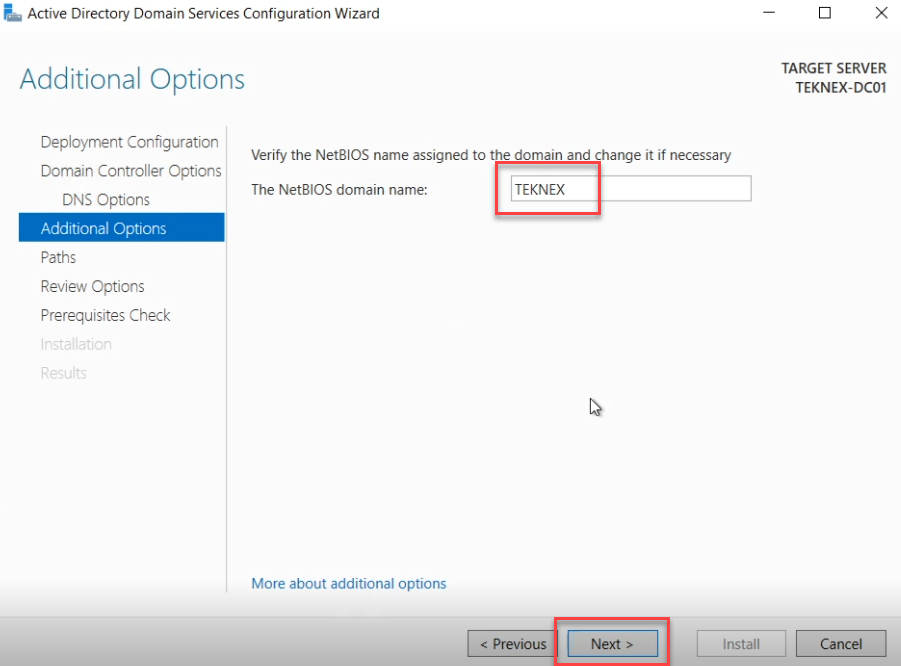
- Additional Options: System will populate NetBios domain name on the basis of Domain Name, recommended going with the default populated NetBios name.
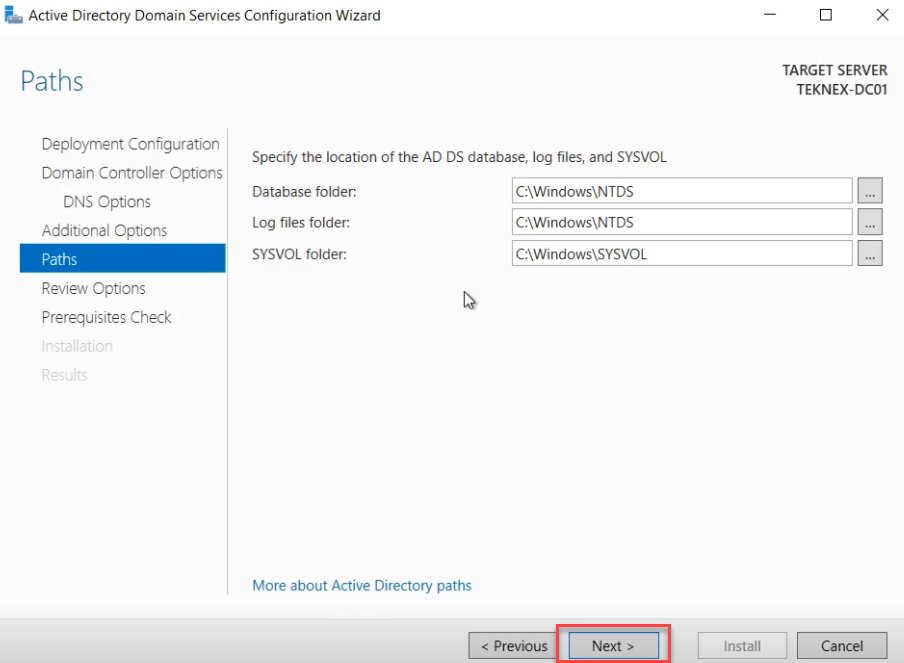
- Paths: Keep everything default and select Next.
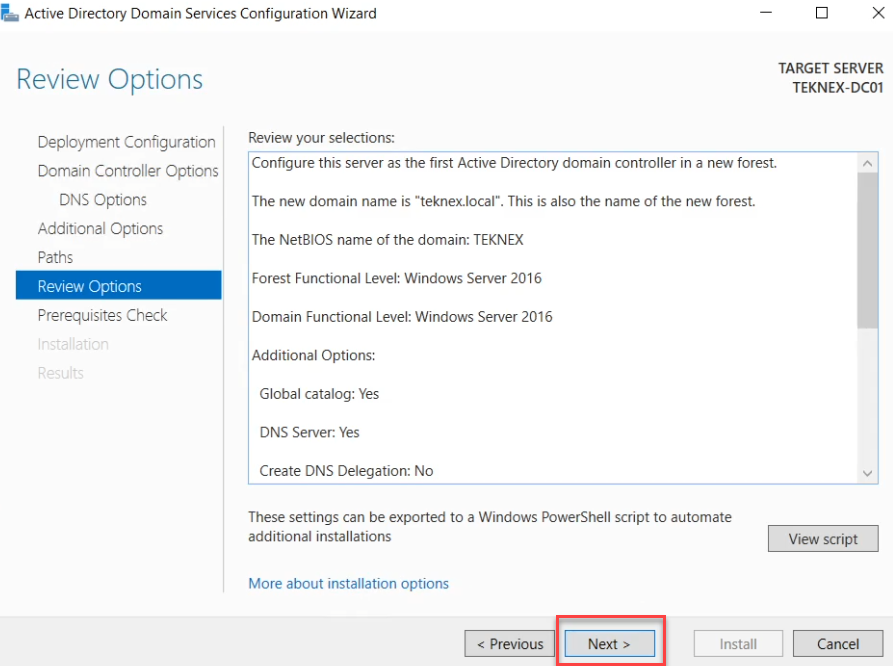
- Review Options: Review your selection and select Next
- Prerequisites Check: System will perform a prerequisites check operation and can give you some warnings. Some warnings are just informational and will not impact the installation. Select Install to proceed further.
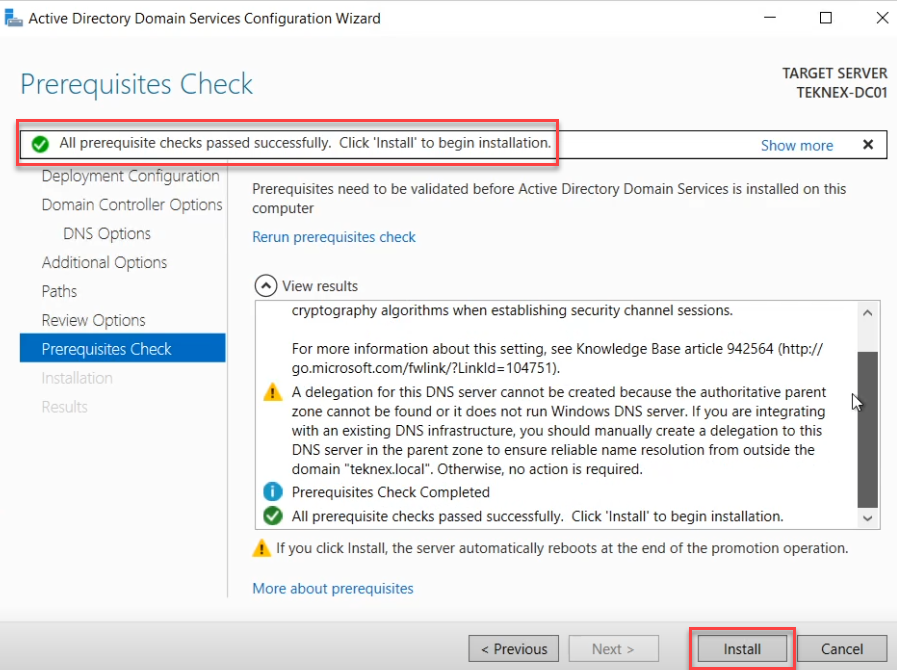
- Installation: Progress will be displayed on the Installation screen.
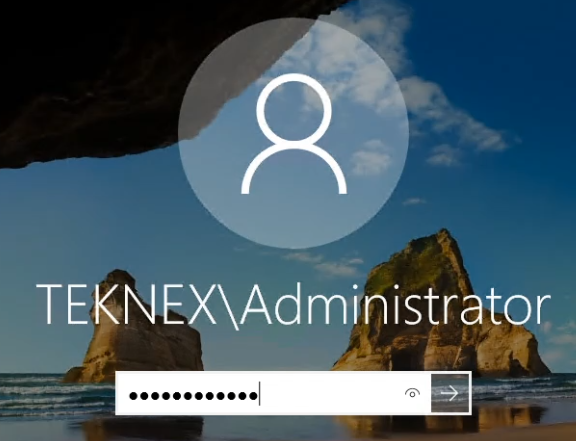
- Results: Once DC is successfully configured, the system will sign you out automatically, and a restart will take place.

- Log back in with the Administrator account. Remember this account has become a domain account.
3. Authorize DHCP Server
In production, you will have a dedicated IPAM (IP Address Management) server. In lab, we can utilize TEKNEX-DC01 to act as DHCP server.
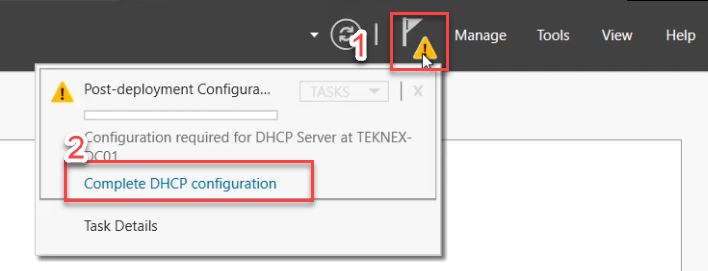
- Click on the yellow triangle in Server Manager and select Complete DHCP configuration and this will open DHCP Post-Install configuration wizard
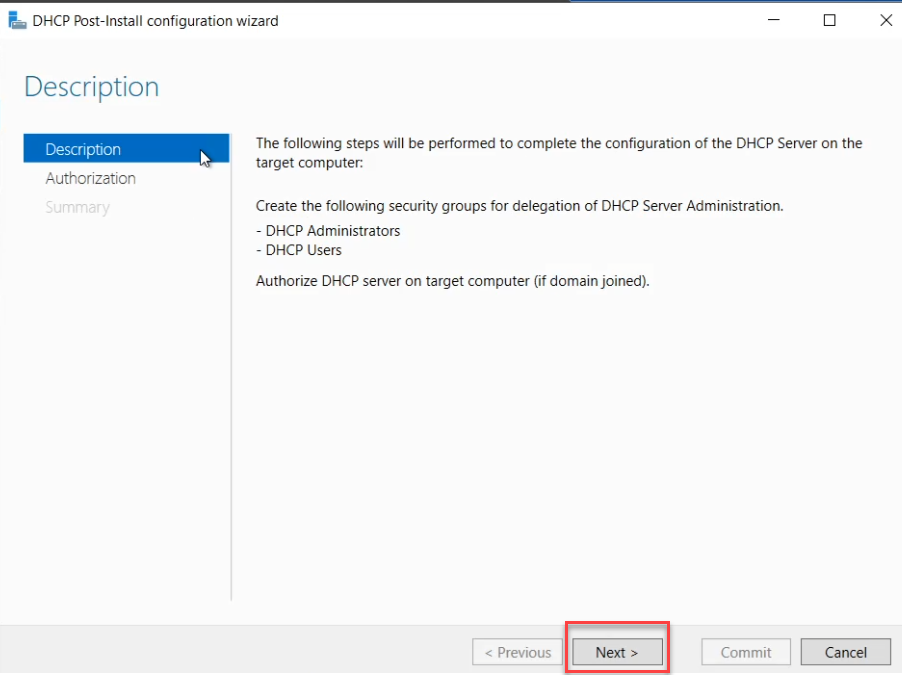
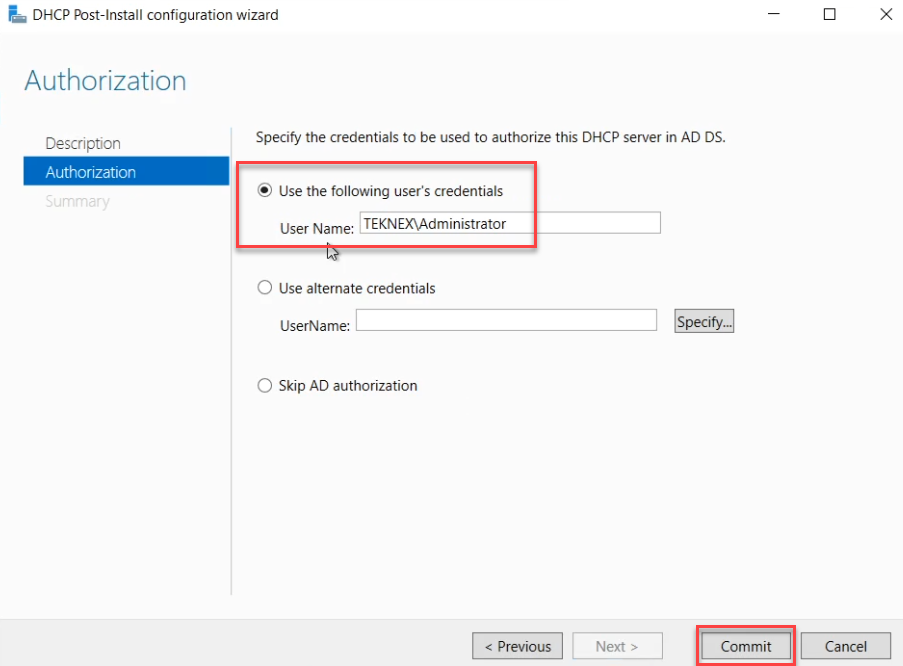
- Description: This page shows you information about what will happen after you Authorize the DHCP server. Select Next
- Authorization: By default, Use the following user’s credentials will be selected and just select Commit to authorize.
4. Configure DHCP Server scope
Clients will get IP addresses once the DHCP scope is configured on the DHCP server.
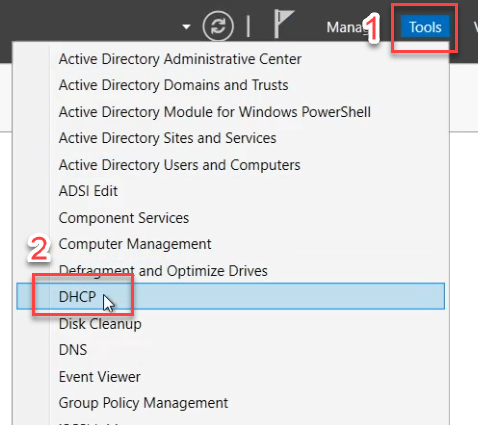
- Open Server Manager > Tools > DHCP.
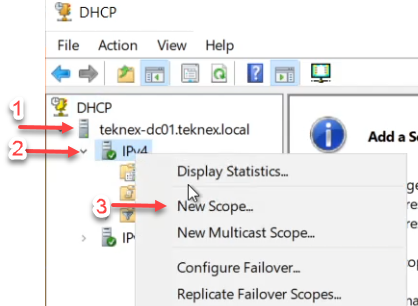
- Extend your server name > right-click on IPv4 to create New Scope.
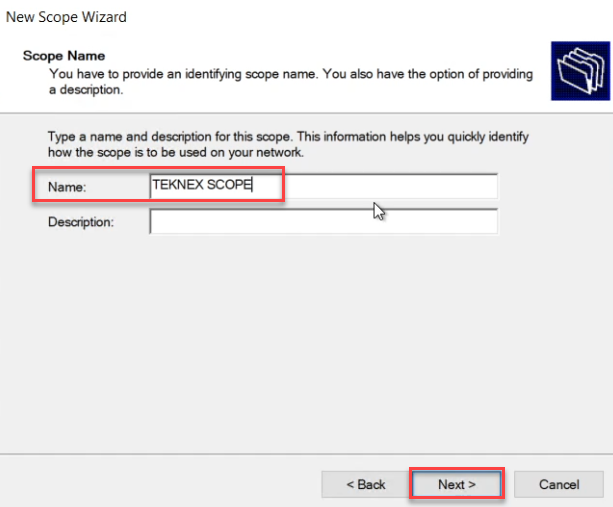
- Select Next on Welcome to the New Scope Wizard.
- Give a Name to scope and description if needed, select Next.
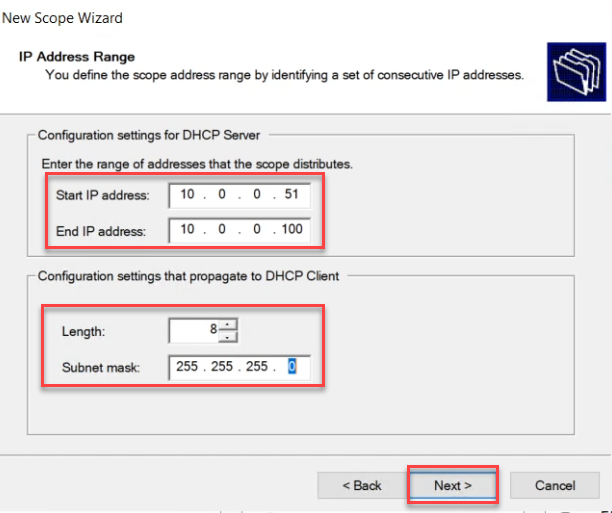
- Enter Start IP address, End IP address, and Subnet mask. Select Next.
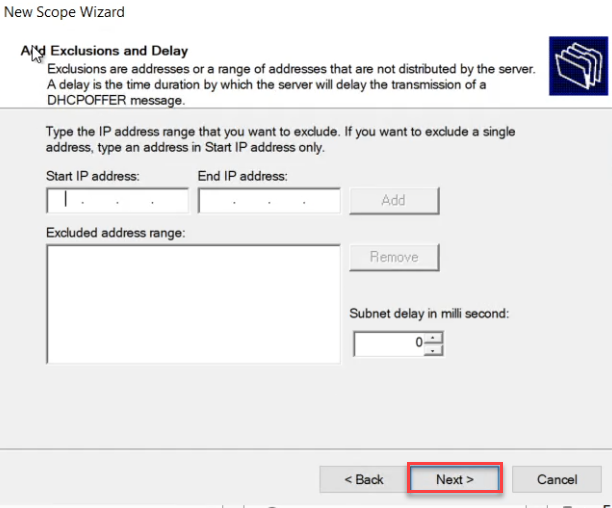
- Add Exclusions and Delay: Here you can enter the IP address which you would like to exclude from the IP address range. I am not changing this, select Next.
- Lease Duration: Keep the default, unless there is a reason to update this and select Next.
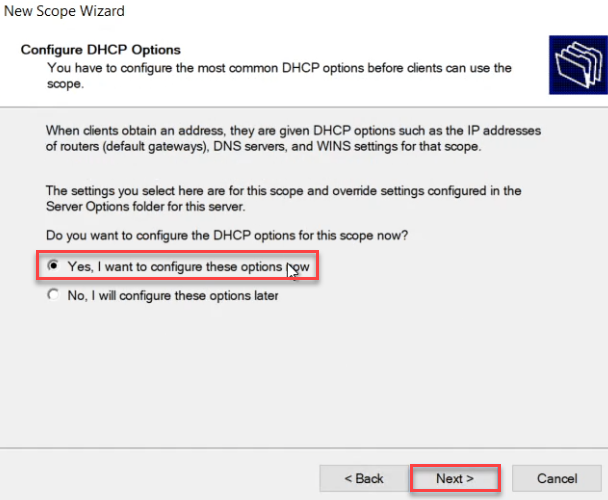
- Configure DHCP Options: Yes, we would like to configure these options now. Select Yes, I want to configure these options now and Next.
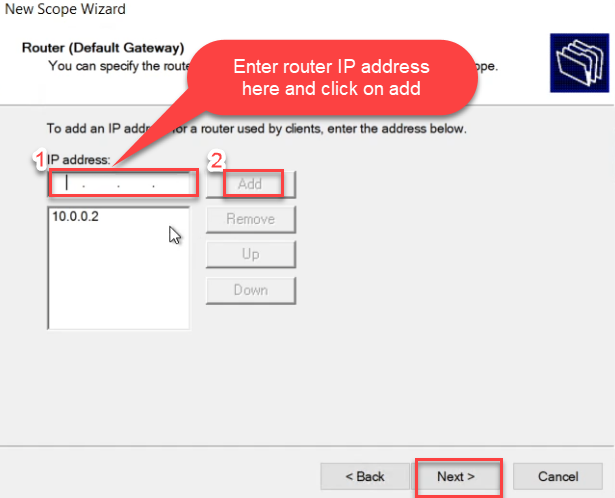
- Router (Default Gateway): Enter the IP address of your router and select Add. In this lab, I do not have a router and I will just add the IP address of my DC. Select Next.
- Domain Name and DNS Servers: Keep Parent Domain default. You can enter the Server Name and check Resolve to get the IP address, we do not have any DNS except TEKNEX-DC01. If you have any other DNS in action, then you can enter the IP and select Add. Use the Up and Down option to select the priority. Whatever will be first, the client will try to resolve the IPs against that DNS. Select Next.

- WINS Servers: Enter any WINS servers Server name or IP Address and select Add. We do not have any WINS in action and just select Next.
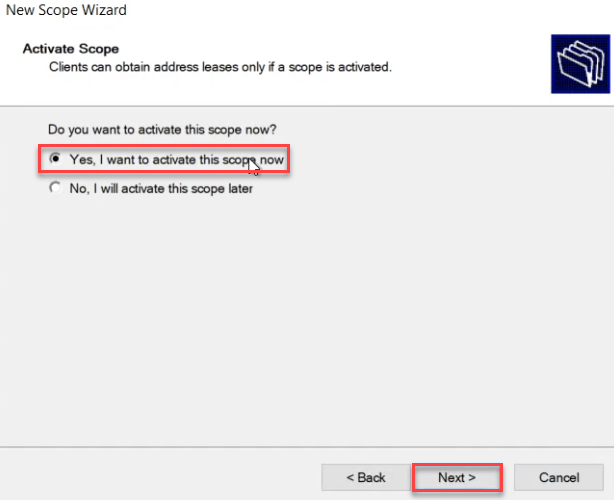
- Activate Scope: Select Yes, I want to activate this scope now and select Next, and click on Finish.
We have configured our scope and in the next step we will test our DHCP server.

5. Test DHCP and DNS
It is time to test the DHCP and DNS configurations.
- Login to a client which is connected to the same network, in my case it is PC-01.
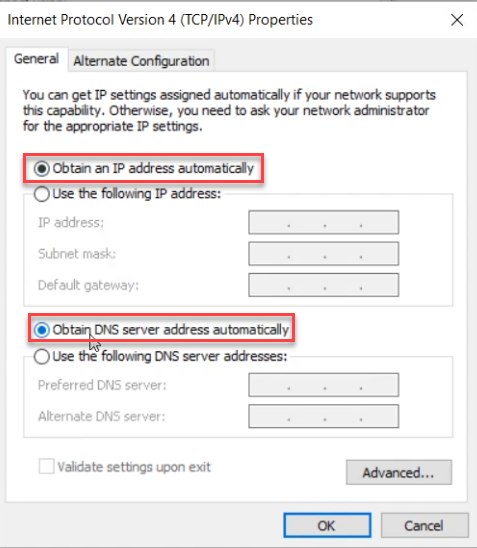
- Change the network adapter settings to receive IP address from DHCP server.
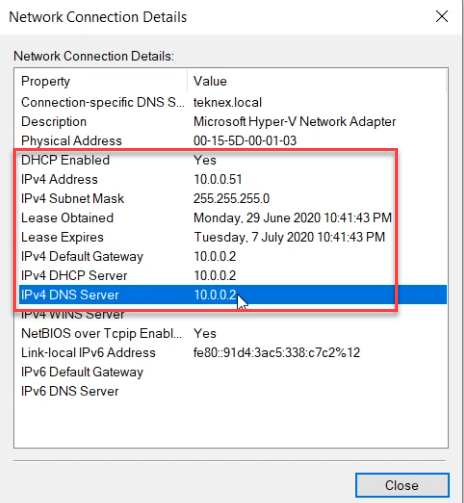
- Confirm PC-01 received IP address from DHCP through CMD, PowerShell or GUI
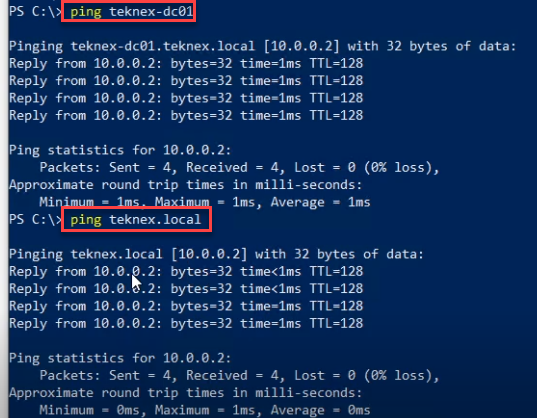
- Open PowerShell or CMD, ping TEKNEX-DC01 and TEKNEX.LOCAL. It should resolve to 10.0.0.2
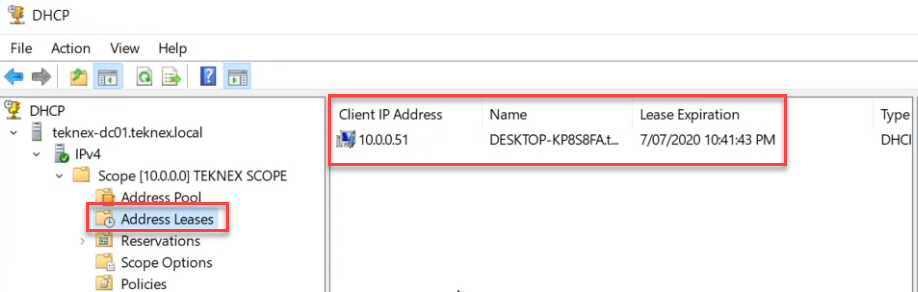
- Log back in to TEKNEX-DC01 > Open Server Manager > Tools > DHCP
- Extend TEKNEX-DC01.TEKNEX.LOCAL > IPv4 > Scope > Address Leases and you should see PC-01 in the list.
Once you have performed the above and the results are positive, let’s prepare Active Directory for our environment.
6. Prepare AD for our environment
It is a good idea to follow best practices where possible even in the lab environment. Let’s prepare AD professionally for our environment by creating proper Organizational Units (OUs), users, computers, and groups where applicable.
Create OUs for computer objects
- Login to TEKNEX-DC01 > Open Server Manager > Tools > Active Directory Users and Computers
- Extend your domain, in my case this is TEKNEX.LOCAL
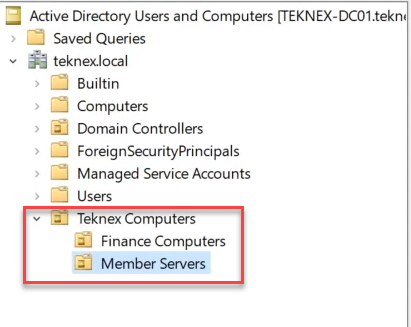
- Right-click on the top of domain (TEKNEX.LOCAL) > Select New > Organisational Unit > Enter name Teknex Computers > Select OK to finish
This OU we will use just for computer objects. We will create further OUs within Teknex Computers OU to store different computer objects. For example, you would not like to store servers in the same OU as finance computers.
- Right-click on Teknex Computers OU > Select New > Select Organizational Unit > Enter name Finance Computers > Select OK to finish
- Right-click on Teknex Computers OU > Select New > Select Organizational Unit > Enter name Member Serves > Select OK to finish
- Right-click on Teknex Computers OU > Select New > Select Organizational Unit > Enter name Management Computers > Select OK to finish
Create OUs for user objects
- Open Active Directory Users and Computers
- Extend your domain, in my case this is TEKNEX.LOCAL
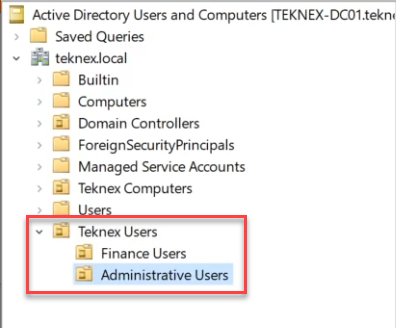
- Right-click on the top of domain (TEKNEX.LOCAL) > Select New > Organizational Unit > Enter name Teknex Users > Select OK to finish
This OU we will use just for user objects. We will create further OUs within Teknex Users OU to store different user objects.
- Right-click on Teknex Users OU > Select New > Select Organizational Unit > Enter name Finance Users> Select OK to finish
- Right-click on Teknex Users OU > Select New > Select Organizational Unit > Enter name Administrative Users > Select OK to finish
Create OU for group objects
- Open Active Directory Users and Computers
- Extend your domain, in my case this is TEKNEX.LOCAL
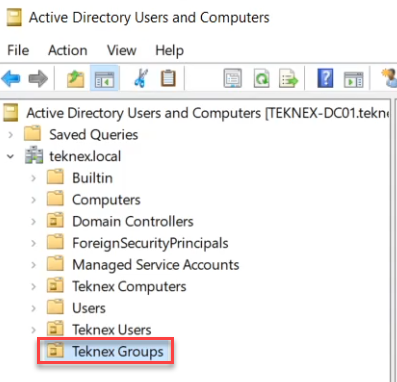
- Right-click on the top of domain (TEKNEX.LOCAL) > Select New > Organizational Unit > Enter name Teknex Groups > Select OK to finish
Create new user objects
- Open Active Directory Users and Computers
- Extend your domain(in my case this is TEKNEX.LOCAL) > Extend Teknex Users OU > Select Finance Users OU > Right Click > Select New > User > Provide all the required information and select Next
– Name: Test
– Last Name: User
– User logon name: Test - Enter the user password twice (ensure it meets the default server password complexity standard). To keep things simple, do the following before selecting Next and Finish.
– Uncheck “User must change the password at next logon”
– Check “User cannot change password”
– Check “Password never expires”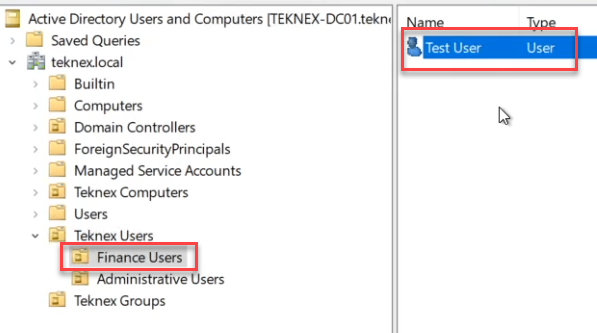
This is just a standard user who is part of the Users group only.
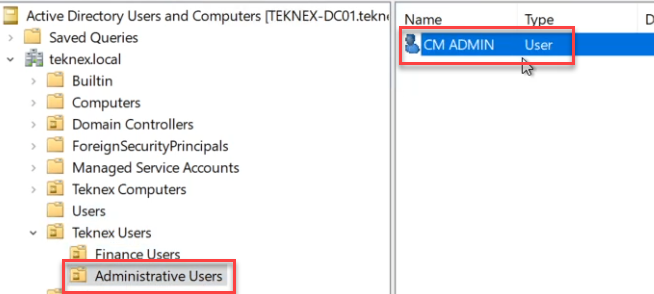
We need an administrator user which will eventually become a ConfigMgr Admin. I am going to do a little cheat here by copying the Administrator user and renaming it to CM Admin. Let’s do that.
- Select Users OU > Select Administrator user > Right-click and select copy > Enter the following details and select Next
– Name: CM
– Last Name: Admin
– User logon name: CMAdmin - Enter the user password twice (ensure it meets the default server password complexity standard). To keep things simple, do the following before selecting Next and Finish.
– Uncheck “User must change the password at next logon”
– Check “User cannot change password”
– Check “Password never expires” - At the moment, this user is residing in the Users OU. Let’s move it to Teknex Administrative users OU. You can click and drag this user object to the target OU or you would be able to right-click and select the move feature to achieve this.
Ensure CMADMIN user is member of the following groups as shown in the photo: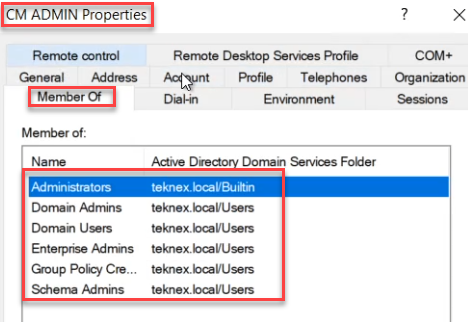
Create computer objects
- Open Active Directory Users and Computers
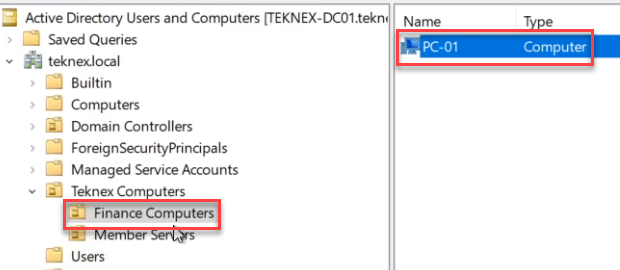
Let’s create a computer object for PC-01 first.
- Extend your domain(in my case this is TEKNEX.LOCAL) > Extend Teknex Computers OU > Select Finance Computers OU > Right Click > Select New > Computer > Enter Computer Name (PC-01) > Select OK
Let’s create a computer object for the ConfigMgr primary site server.
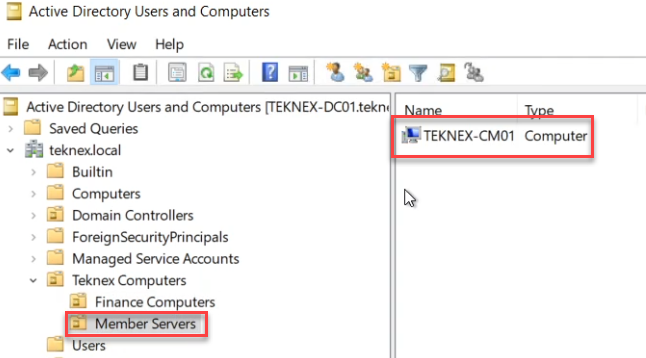
- Extend your domain(in my case this is TEKNEX.LOCAL) > Extend Teknex Computers OU > Select Member Servers OU > Right Click > Select New > Computer > Enter Computer Name (TEKNEX-CM01) > Select OK
7. Domain join PC-01
Domain join PC-01 and then login to PC-01 with the standard user (TEST user) we created in the previous steps. There are various way to domain join a machine. You can simply use PowerShell to achieve this
- Login to PC-01
- Open PowerShell as administrator > run the following command to domain join > enter the password for the user account when it prompts (ensure the user is Domain Admin)
Add-Computer -ComputerName PC-01 -DomainName TEKNEX.LOCAL -Credential ADMINISTRATOR@TEKNEX.LOCAL
- The machine will restart and will allow you to login with a domain account > Use TEST user account to login to PC-01
8. Domain join ConfigMgr primary site server
Ensure the IP address is manually given to this server and test the DNS connectivity as well by pinging to your domain (TEKNEX.LOCAL).
- Login to TEKNEX-CM01
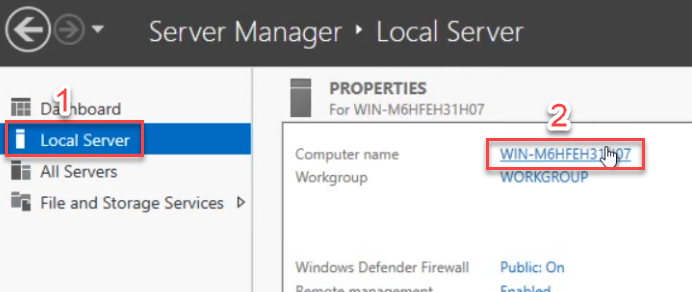
- Open Server Manager > Select Local Server > Click on Computer Name and this will open the Computer Properties window
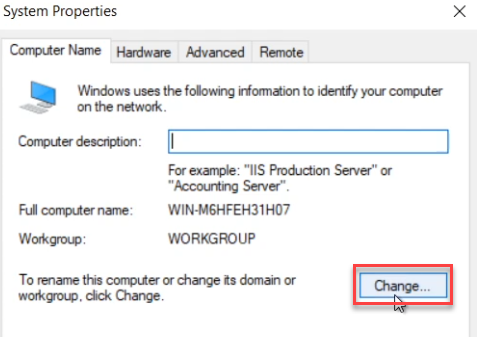
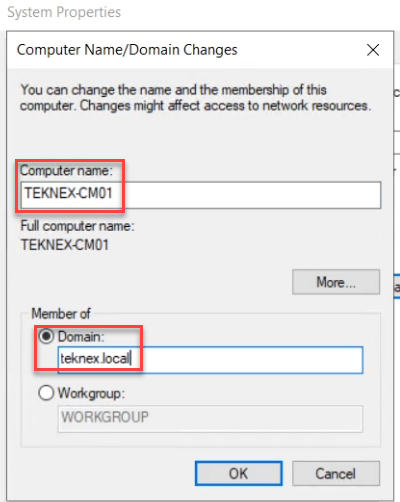
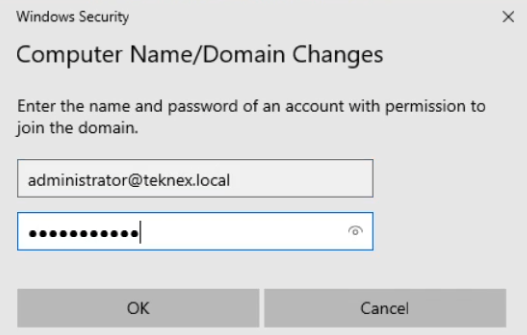
- Select Change > Enter Computer name (TEKNEX-CM01) > Select Domain and enter your domain name (TEKNEX.LOCAL) > Click OK > Enter credentials of a Domain Admin and select OK > Follow the prompts and restart the server
- Log in to TEKNEX-CM01 with the CMADMIN account which we created in the previous steps as our ConfigMgr Admin account.
That is all in this post, in the next post we will install Software Prerequisites on TEKNEX-CM01.


June 16, 2021 @ 5:07 am
Great Work
I really love your work
August 1, 2022 @ 10:25 am
Hey Jay, how come you didn’t configure RRAS in this series like you did in the previous one?
August 23, 2022 @ 3:50 pm
The steps are the same actually. Check this link to combine both video series https://blog.masteringmdm.com/combine-new-and-old-configmgr-youtube-video-series/.