
This blog post is part of ConfigMgr Current Branch 2002 lab blog post series. In this post, we will configure three virtual machines for our ConfigMgr 2002 lab.
We will be using Hyper-V as our Hypervisor. You can use any other Hypervisor. I would recommend keep Virtual Box as your last resort.
Checkout video related to this this blog
Table of Contents
1. Virtual Networking
Before we move forward and configure our VMs, it is very important that we have our virtual networking configured properly so that our VMs can be networked virtually. We will be using the Internal Virtual Switch.
1.1 Create a new Internal Virtual Switch
In order to network our VMs virtual, we will make use of Hyper-V’s Internal Virtual switch. This will enable networking between VMs and our host machine as well.
Follow the steps below to configure Hyper-V Internal Virtual Switch (INT-01)
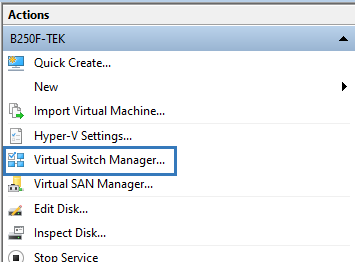
1. Open Hyper-V Manager and click on the Virtual Switch Manager in the Actions pane
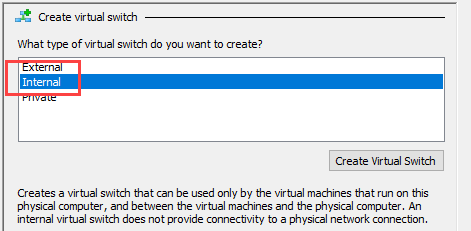
2. This will open a new wizard. In this wizard under Create virtual switch > Internal > Create Virtual Switch
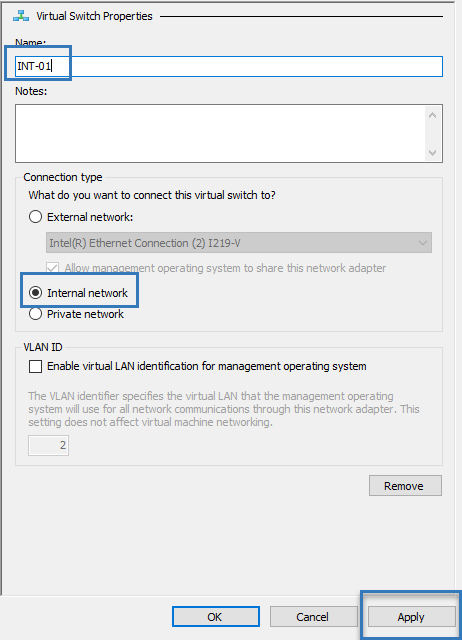
3. In the Virtual Switch Properties, give it a name “INT-01” and click on Apply
Our new Internal Virtual Switch is now ready to be used.
1.2 Configure Virtual Switch
We have specific needs and let’s configure this Internal Virtual Switch according to our needs. We would like to update the IP Address of this switch so that it will be within our decided subnet which is 10.0.0.0/24.
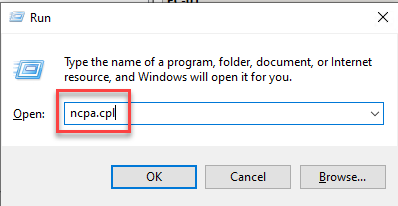
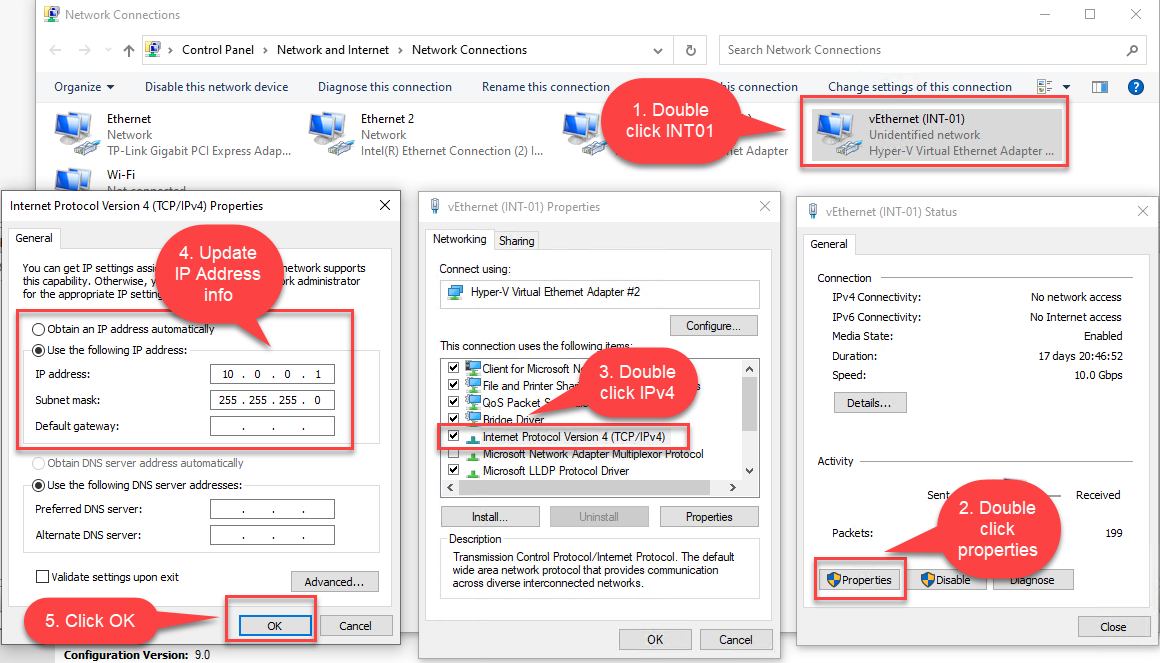
1. Open Network Connections: Use Win + R on your keyboard and type ncpa.cpl
2. Double click on INT-01 VS > Properties > Double click on Internet Protocol Version 4 (TCP/IPV4)
3. Update the IP Addressing
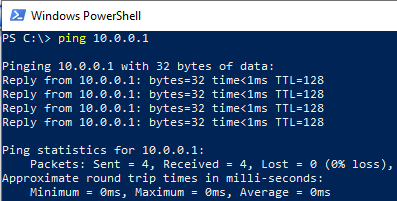
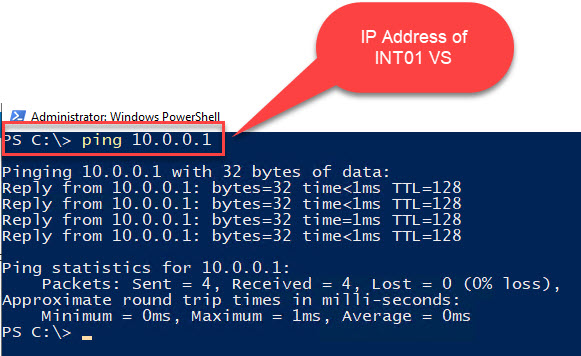
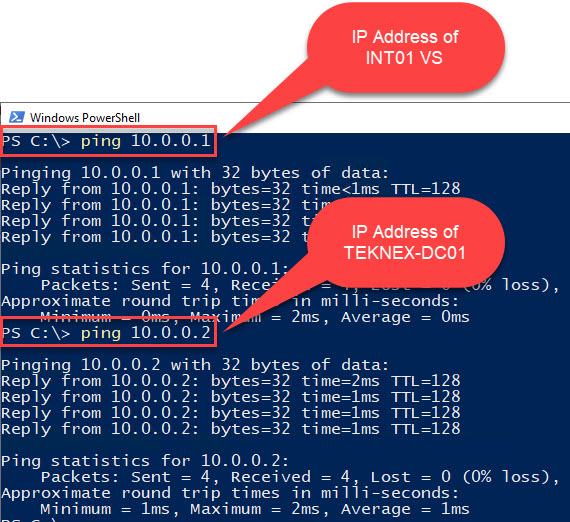
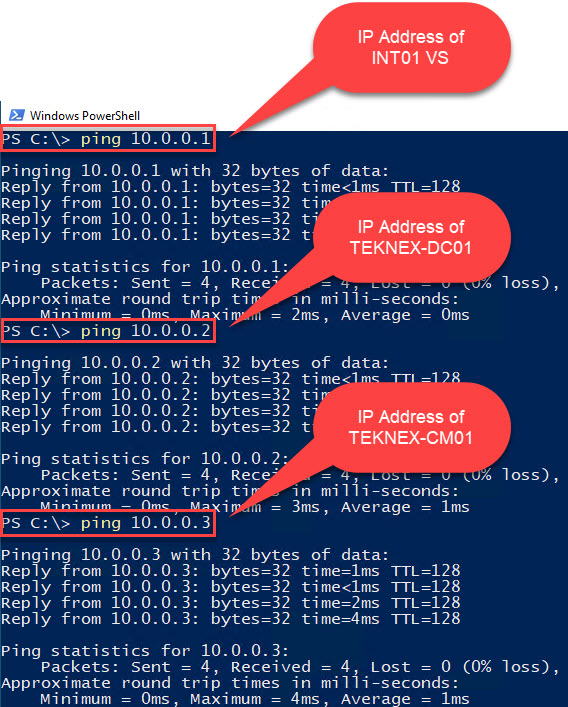
Test the connectivity
Open CMD or PowerShell on your host and ping 10.0.0.1. You should get a reply back. We are ping from host to its connected Virtual Switch.
2. Configure Virtual Machines
Alright! In this step, we are configuring our VMs mentioned in the Lab Overview. You need to have two ISO files handy for this if you have not downloaded these files yet then go ahead download these files. You will find the required links in the ConfigMgr Software Requirements blog:
1. Windows Server ISO
2. Windows 10 ISO
2.1 TEKNEX-DC01
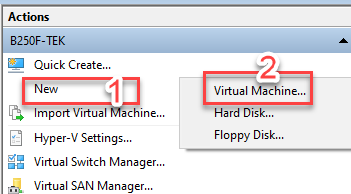
1. Open Hyper-V Manager > Click New in Actions Pane > Select Virtual Machine > This will open a new wizard

2. Select Next on Before You Begin wizard
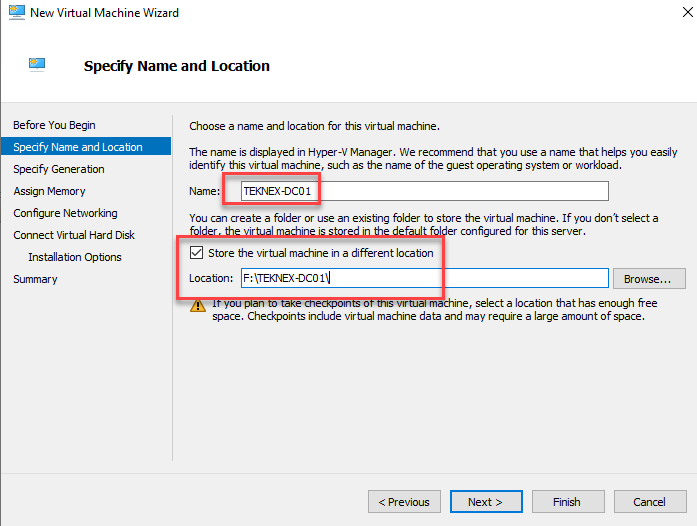
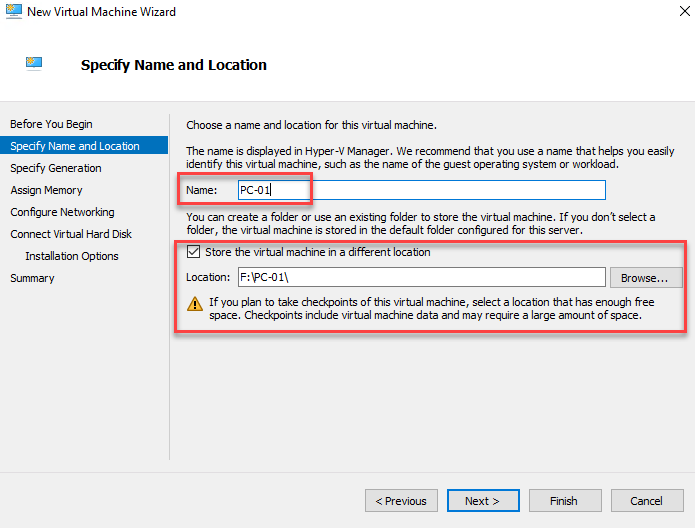
3. Specify Name and Location
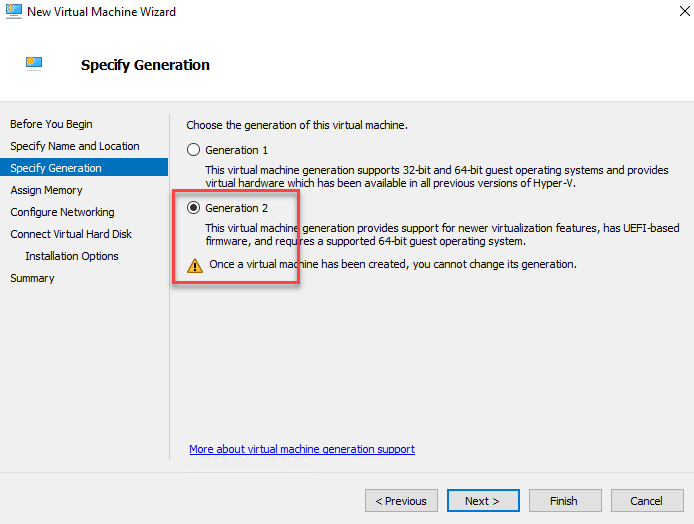
4. Specify Generation
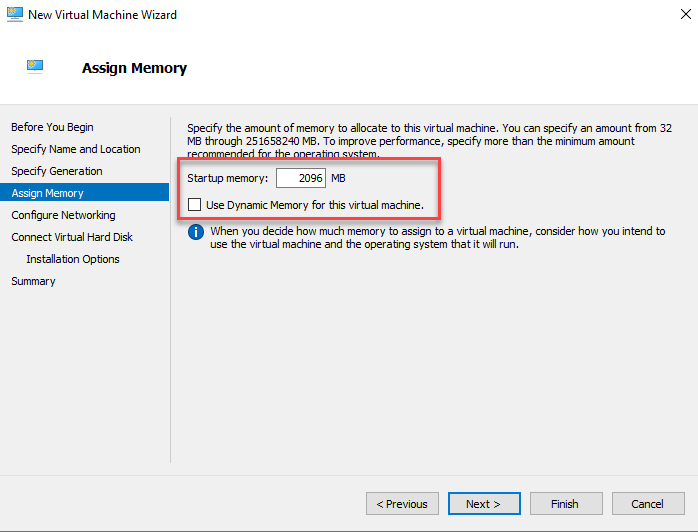
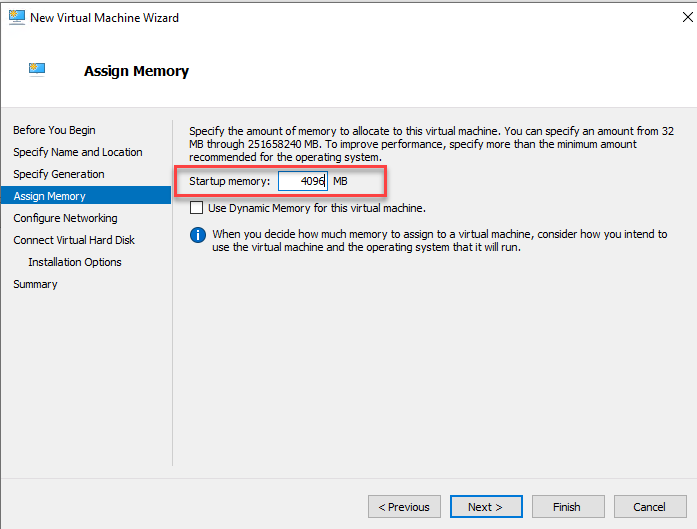
5. Memory
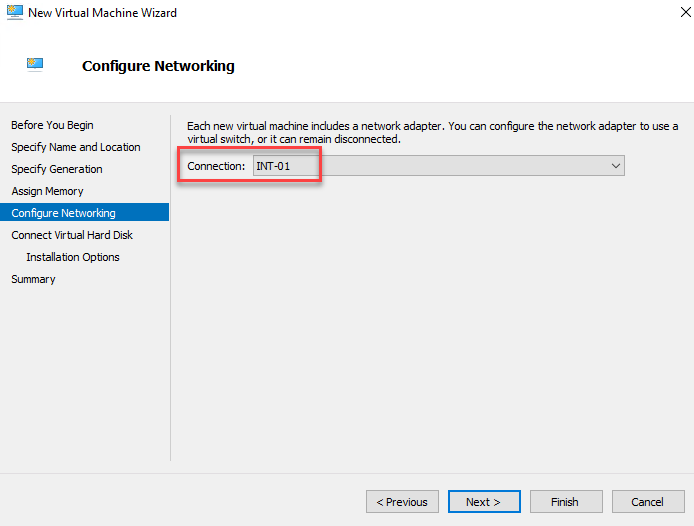
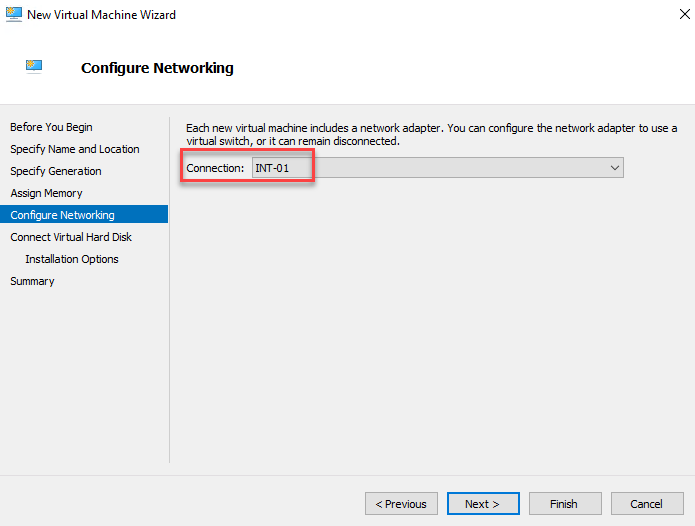
6. Configure Networking > Select the Virtual Switch we created earlier INT-01

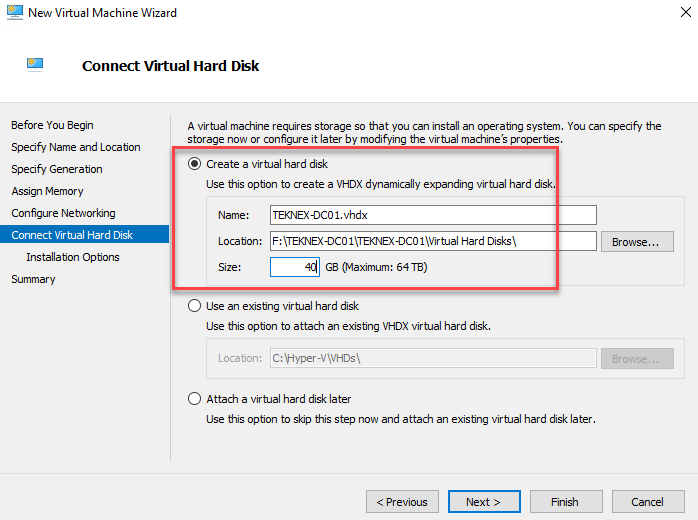
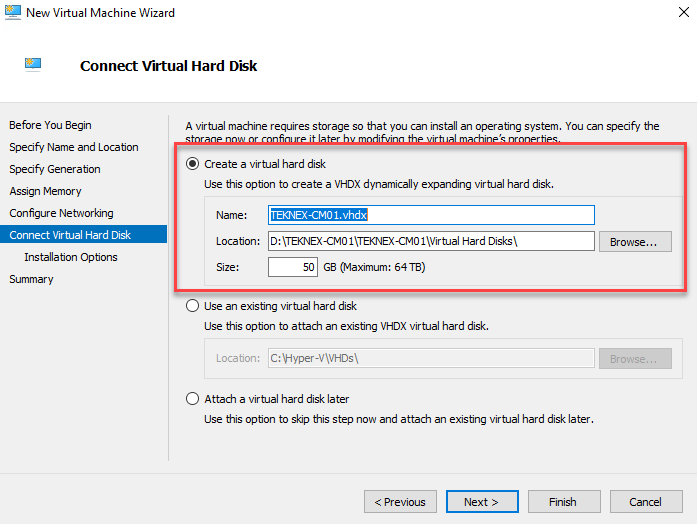
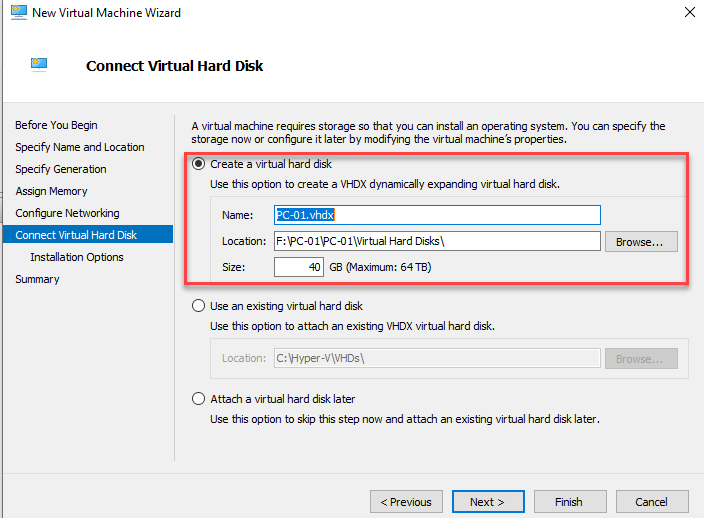
7. Connect Virtual Hard Disk
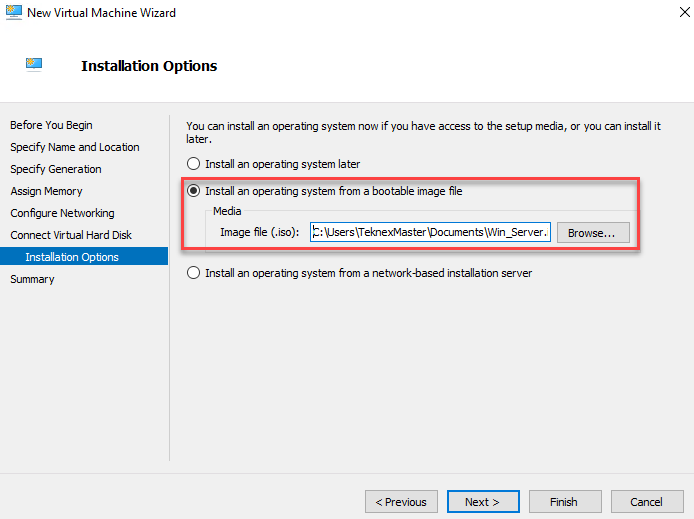
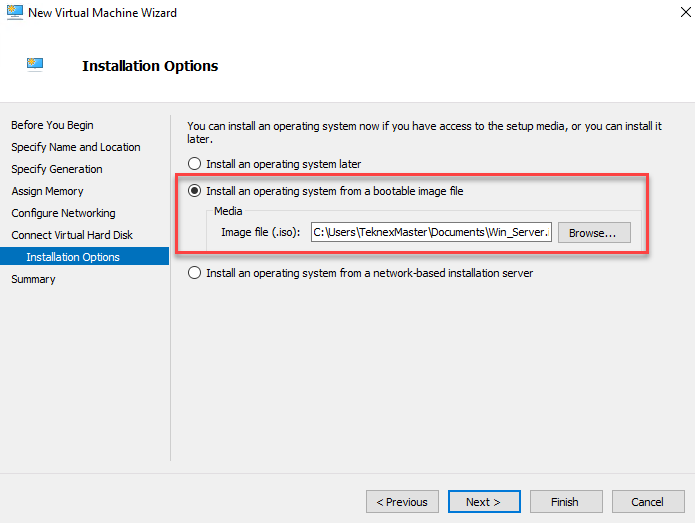
8. Install Options > Select Install an operating system from a bootable image file > Browse to your Windows Server ISO file
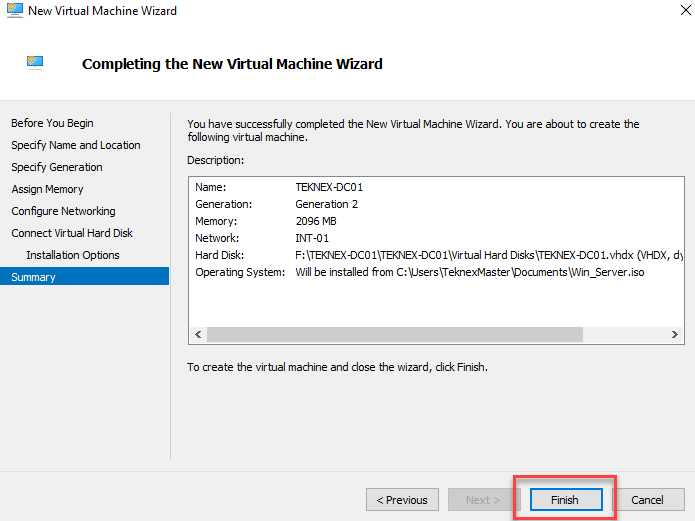
9. Confirm everything you have selected in the summary screen and click on Finish
10. You will see you newly created Virtual Machine in Hyper-V manager > Double Click on it > Click Start > Press any key on the keyboard and follow the prompts to install Windows Server
Post Installation Tasks
1. Server Manager > Local Server > Update Computer Name
2. Server Manager > Ethernet > Update the I.T Address as follows
3. Test connectivity by pinging to INT-01 VS on 10.0.1.1
2.2 Configure Firewall Rule
Important: Windows Firewall blocks incoming ICMPv4 protocol by default. To overcome this, you need to add allow ICMPv4.
This can be achieved as follows:
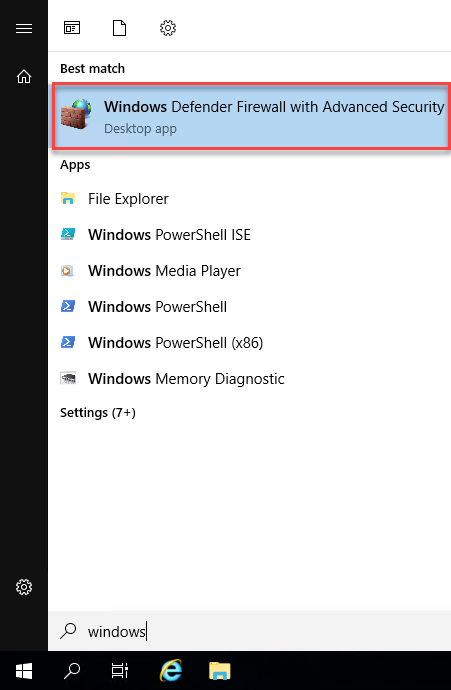
1. Open Windows Defender Firewall with Advanced Security
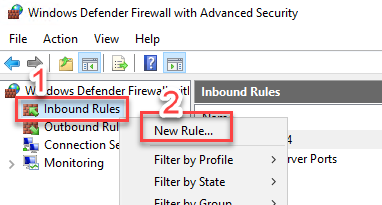
2. Right-click Inbound Rule > New Rule
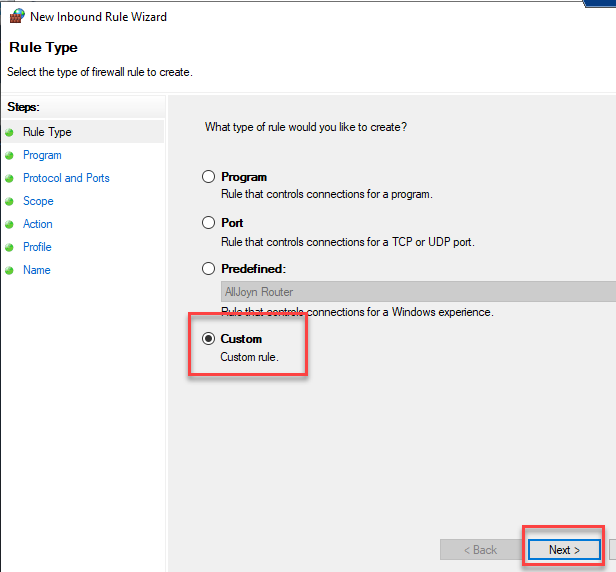
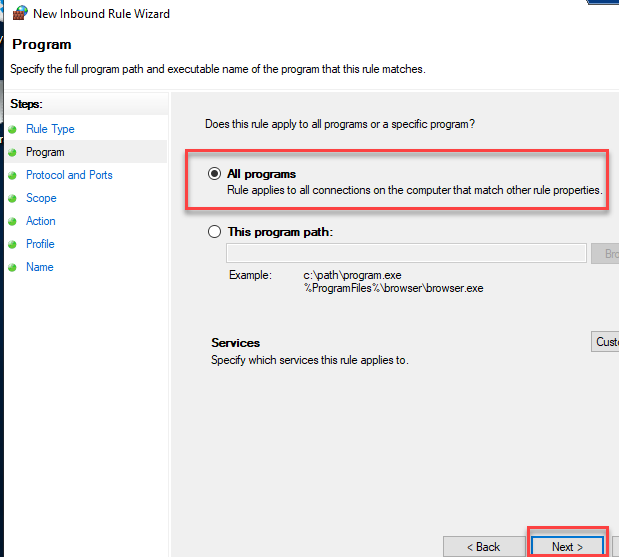
3. Rule Type Custom
4. All programs
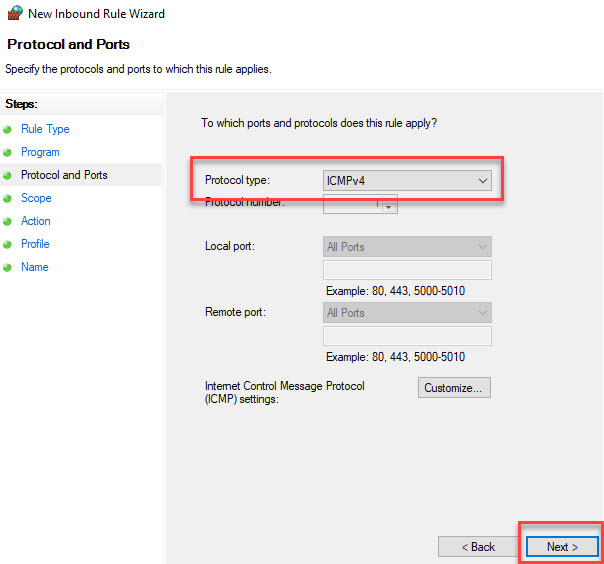
5. Protocol and Ports > Protocol type > ICMPv4
6. Scope > Any IP Address

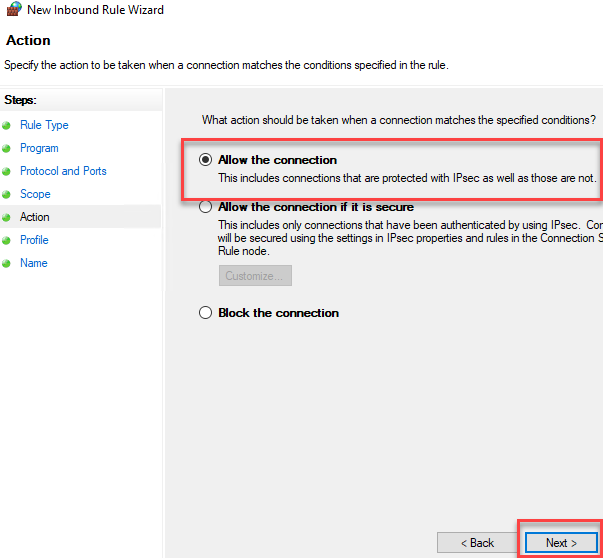
7. Action > Allow the connection
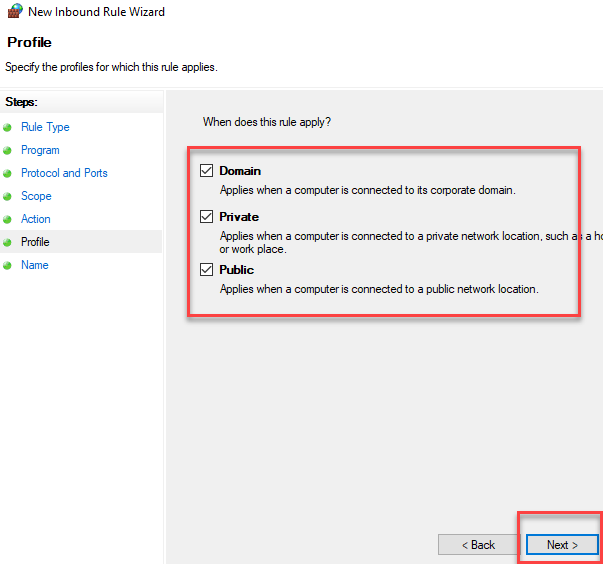
8. Allow on all profiles
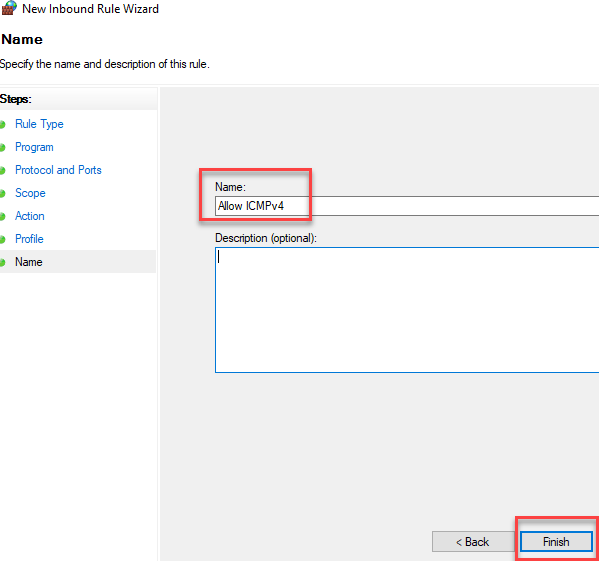
9. Give it a name “Allow ICMPv4” and finish
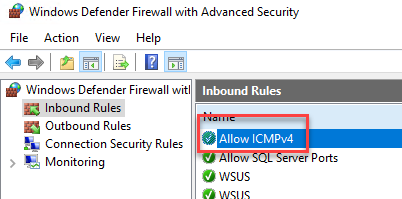
10. Confirm newly added rule
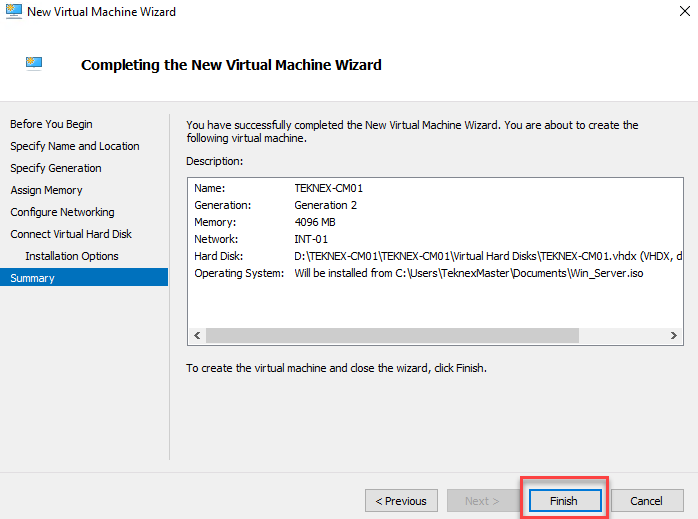
2.3 TEKNEX-CM01
1. Open Hyper-V Manager > Click New in Actions Pane > Select Virtual Machine > This will open a new wizard

2. Select Next on Before You Begin wizard
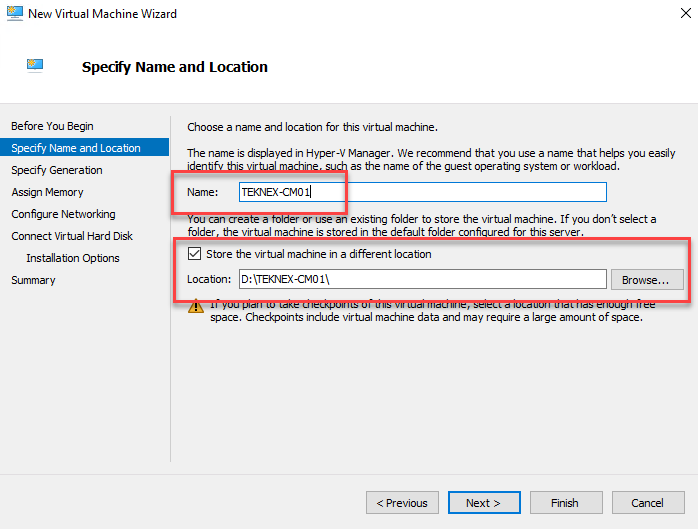
3. Specify Name and Location
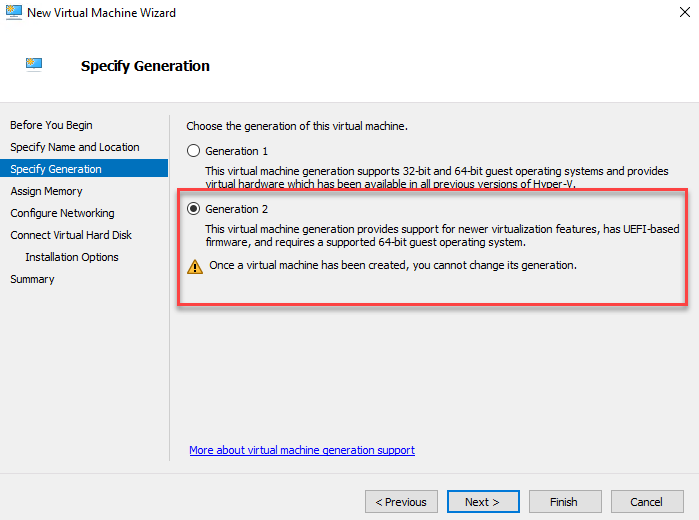
4. Specify Generation
5. Memory
6. Configure Networking > Select the Virtual Switch we created earlier INT-01
7. Connect Virtual Hard Disk
8. Install Options > Select Install an operating system from a bootable image file > Browse to your Windows Server ISO file
9. Confirm everything you have selected in the summary screen and click on Finish
10. You will see you newly created Virtual Machine in Hyper-V manager > Double Click on it > Click Start > Press any key on the keyboard and follow the prompts to install Windows Server
Post Installation Tasks
1. Server Manager > Local Server > Update Computer Name
2. Server Manager > Ethernet > Update the I.T Address as follows
3. Test connectivity by pinging to INT-01 VS on 10.0.1.1 and TEKNEX-DC01 on 10.0.1.2
2.4 TEKNEX-PC01
1. Open Hyper-V Manager > Click New in Actions Pane > Select Virtual Machine > This will open a new wizard
2. Select Next on Before You Begin wizard
3. Specify Name and Location
4. Specify Generation

5. Memory

6. Configure Networking > Select the Virtual Switch we created earlier INT-01
7. Connect Virtual Hard Disk
8. Install Options > Select Install an operating system from a bootable image file > Browse to your Windows Server ISO file

9. Confirm everything you have selected in the summary screen and click on Finish

10. You will see you newly created Virtual Machine in Hyper-V manager > Double Click on it > Click Start > Press any key on the keyboard and follow the prompts to install Windows 10 > Make sure you select Windows 10 Pro/Ent/Edu if the system prompts you to select the Windows Edition
Post Installation Tasks
1. Settings > System > About > Rename this PC
2. Win + R > ncpa.cpl > Update IP address for the listed network adapter
3. Test connectivity by pinging to INT-01 VS on 10.0.1.1, TEKNEX-DC01 on 10.0.1.2 and TEKNEX-CM01 on 10.0.1.3
Any questions and feedback, leave it in the comments below 🙂.


